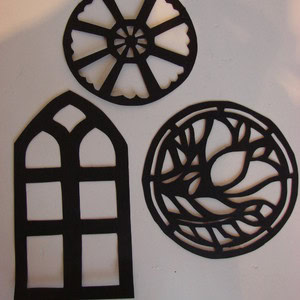
Step 1
First of all you need a design! Try doing some sketches and think about style, colours and patterns. Remember that all of the areas of ‘leading’ (the parts of the window that you will leave as black card) need to join up.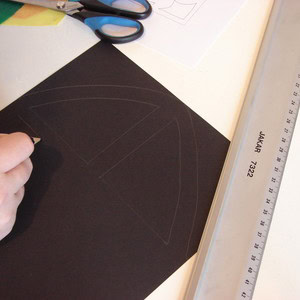
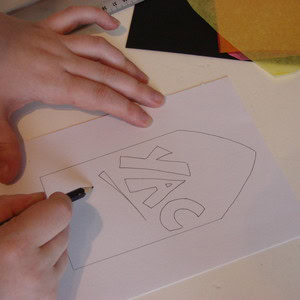
Step 2
When you are happy with your design, draw it out on your black card.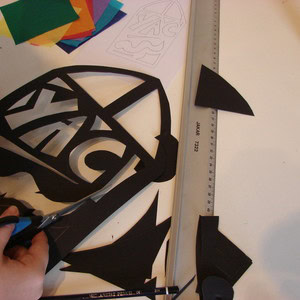
Step 3
Once you have drawn your design onto the black card, you need to cut out the areas for your ‘glass’. Do this carefully! If you find that some areas of your design are too complicated to cut with scissors, then ask an adult to cut those bits out with a craft knife.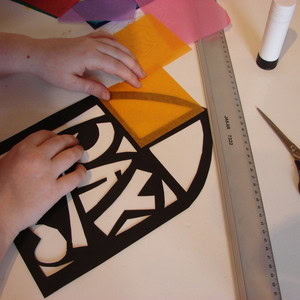
Step 4
Turn your window over so that the back is facing you. Lay your chosen colour of tissue paper over the segment that you are going to fill in first and you will see the shape that it needs to be cut to fit. Remember, your tissue shape needs to be bigger than the actual area that you have cut out of the card, otherwise it would just fall through the gap.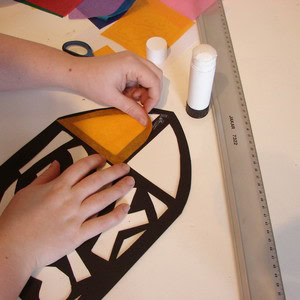
Step 5
Stick your tissue paper to the frame and continue the process until all of the cut out areas have been covered with tissue paper.
Step 6
To see your stained glass window in all its glory, stick it to a real window with blu-tack. When the sun shines through it, the colours become brighter and the whole design will look even more impressive; this is exactly what happens with real stained glass.