Step 1
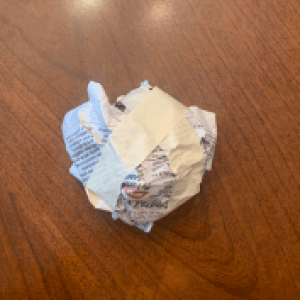
Firstly, scrunch some newspaper up into a ball. Add a few more pieces to make a bigger sized ball. Then tape around the ball to make sure the pieces stay together.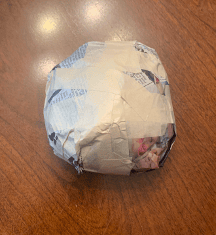
Step 2
Keep adding layers till it’s about the size of a hand. Wrap it in masking tape so it becomes a smooth surface. Make sure an adult’s around if scissors are being used to cut the tape!
Step 3
Squeeze the back of the ball so it becomes a bit flatter - this is so it can lay flat.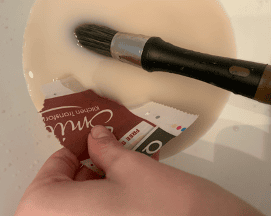
Step 4
Here comes the messy bit! Make sure you do this on a surface that can get wet. Mix one part water and one part glue- this is a papier mâché mix. Rip newspaper into strips and soak in the mixture.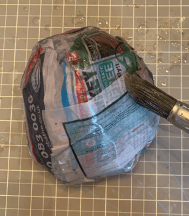
Step 5
Apply this to the ball until the entire area is covered. Make sure it’s smooth (you may need a paintbrush) and set aside to dry. This will be the head of the antler ornament.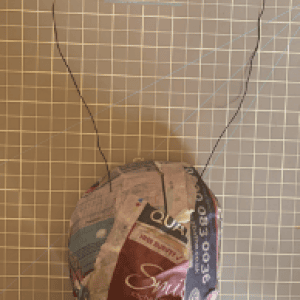
Step 6
Whilst the head is drying - let’s make the antlers! Layout some craft wire, we need two pieces of the same length. Some of the wire will be attached to the head so make sure there’s enough wire sticking to look like antlers! Cutting the wire will need adult supervision.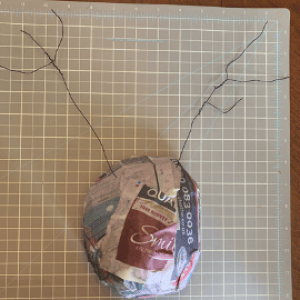
Step 7
With adult supervision, cut some smaller pieces of wire - these will be branches of the antlers. Wrap the smaller pieces of wire around the long pieces.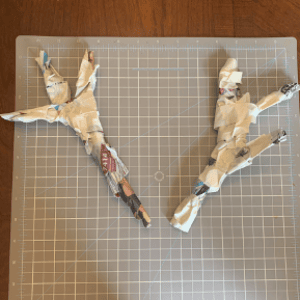
Step 8
Wrap newspaper around the wire and use masking tape to attach. Cover all of the wire.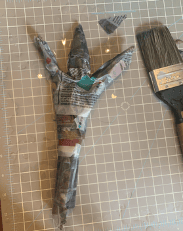
Step 9
Now we can papier mâché the antlers. Like the head, rip off strips of newspaper and soak, then apply. Cover all the antlers. Set aside to dry alongside the head. This could take a few hours.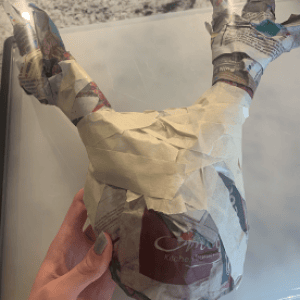
Step 10
Making sure both the antlers and the head are completely dry, attach the antlers to the head with masking tape. You’ll have to wrap the masking tape around the head. You might need an adult to hold the antlers steady for you!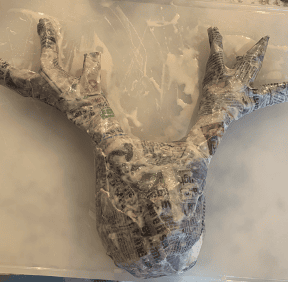
Step 11
Now for the final layer of papier mâché! Cover all of the antlers and the head, blending the antlers in so you can’t see the tape. Leave to dry.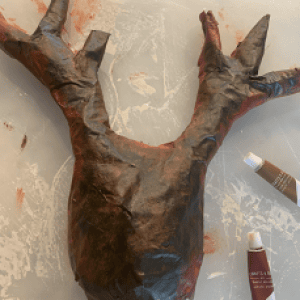
Step 12
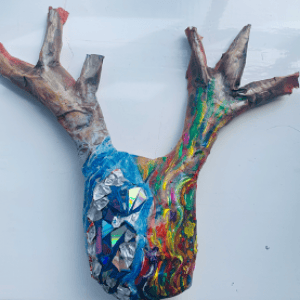
Once dry we can set out our decorating materials. Make sure you have paintbrushes, paint, a CD, and some bottle tops. You can paint the deer headdress any colour you want but I went with different shades of brown.
Step 13
Once the brown layer is dry, I chose to decorate one side with painted flowers and swirls of different colours to represent the environmental part of this year’s Festival Of Archaeology theme (climate and environment)!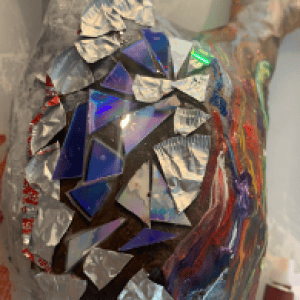
Step 14
Then, with an adult present, cut up the old CD into triangle shapes. Then either cut up the milk bottle tops or leave them as is. Glue the CD shapes and the milk bottle tops, shiny side up, on the other side of the antler head.