Step 1
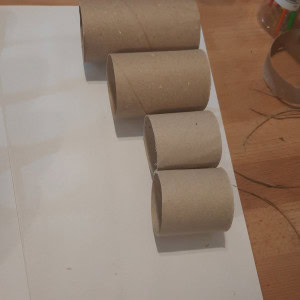
First, cut one of your toilet roll tubes in half, neatening up the edges if need be. After this trim about 1 centimeter off of the end of a second toilet roll tube, however leave the last one at it's normal length. You should now have four pieces.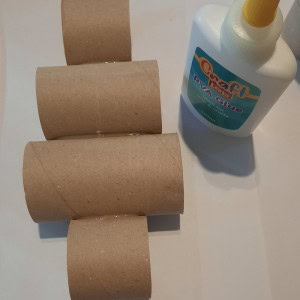
Step 2
Using PVA glue, stick the tubes together in a Christmas tree shape - using the image to the right as a guide. Leave this to dry on a flat surface.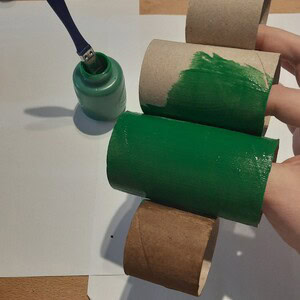
Step 3
Once dry, lay down some protective material over the surface you want to use and get the paints out. I am using green and brown (the brown i made by mixing all the colours together!) however the tree and base can be whatever colours you would like!
Step 4
Paint the tree and base all over - you don't have to do the insides - and leave to dry. There are two ways to dry your trees: the quickest way is to hang it up using something that will go through the mid-length tube (I used a spatula handle balanced on things in my kitchen). The second way is letting it dry lying down on a flat surface, however this will take longer as the first side has to dry before you paint the second. You might also want to do a double coat.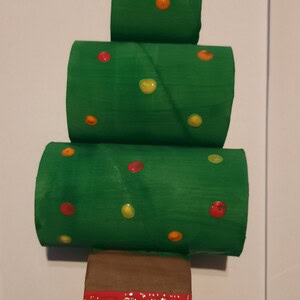
Step 5
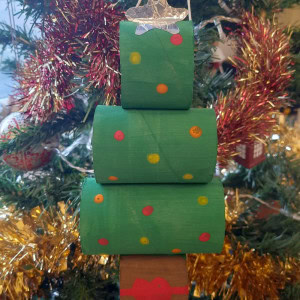
Once dry, you can add your decorations! This bit is completely up to you. I went for colourful baubles and a big red bow by blobbing paint on with a cotton bud, and then cut a star out of an empty chocolate orange wrapper, however you can do whatever you would like with the craft materials and/or recycled materials you have. Get creative!