Step 1
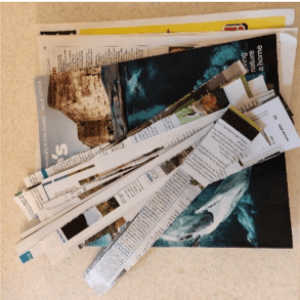
Tear your newspaper or magazine pages into thin strips (3cm wide is a good size). You will need quite a few!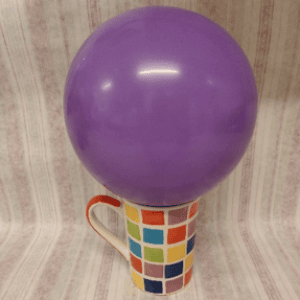
Step 2
Inflate the balloon until it is roughly 20cm across and tie a knot in the end. Place your balloon into the empty cup/beaker with the knotted end pointing into the cup. This will keep the balloon steady while you work on it.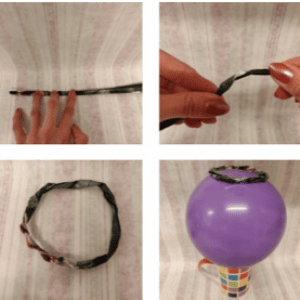
Step 3
Take one strip of newspaper, fold it in half lengthways a couple of times to make it thicker and then twist it into a ring shape roughly 8cm across. Use sellotape to fasten the ends together and then fix the ring onto the top of the balloon with some more sellotape. This will form the base of your finished pot.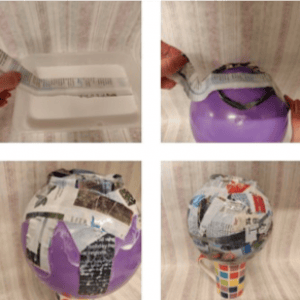
Step 4
In the empty tub mix together some PVA glue and water – a 50:50 ratio makes a strong enough mixture. Now for the messy bit! Take another strip of newspaper and dip it into your glue mixture. Using your finger and thumb, wipe of the excess mixture. Then lay the wet strip onto your balloon and smooth it flat. Repeat this process with another strip and keep building up the layers until your balloon is covered (except for the bit that is in the cup). The more layers you have, the stronger your finished pot will be but the longer it will take to dry.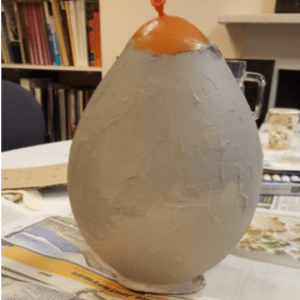
Step 5
Leave your balloon to dry overnight. Once it is dry, it is ready to paint. Use your paints to make the balloon look like a pot. We have chosen to keep ours plain but you can decorate yours however you want. Why not look on the PAS database for inspiration? Leave to dry (this may take a couple of hours).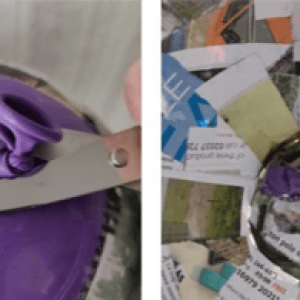
Step 6
Once dry, it is time to remove the balloon. Lift it carefully out of the cup – you might need some help as it may have become stuck to the cup. Turn your pot over and stand it on its base. Carefully snip the knot off the balloon and as it deflates, it should come away from your papier-mache pot.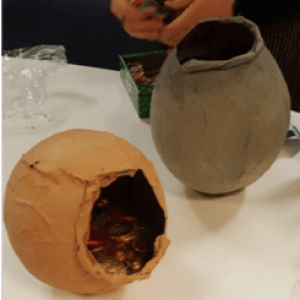
Step 7
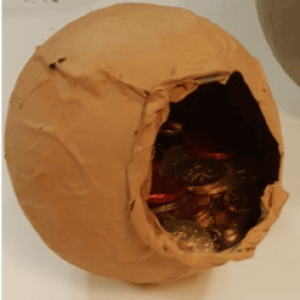
Use the scissors to trim the rim of your pot so that the edge is tidy. We gave ours a jagged edge and added some more twisted paper to make it look like it had been broken during burial. If you have time, you can make a lid for your pot using the same papier-mache technique described above.