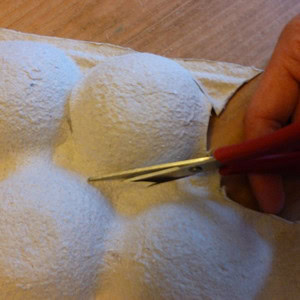
Step 1
Carefully cut out two of the circular sections from the fruit box inserts. These will be your brooches.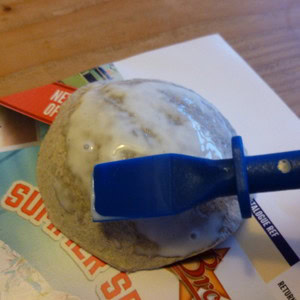
Step 2
Cover the domed surface of each brooch with lots of PVA glue. The cardboard will soak up the glue, so you will need lots, and may need to keep adding more.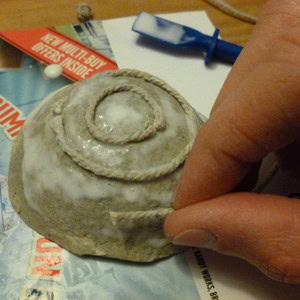
Step 3
Stick string onto your brooch in an interesting pattern. We chose to do three concentric rings, but you might like to try a knot pattern or crisscross. It is quite fiddly and takes lots of patience! You may find it easier to stick your string pattern on using double-sided sticky tape.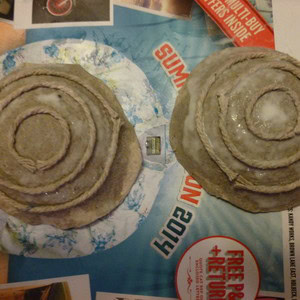
Step 4
Repeat the same string pattern on your second brooch and leave both to dry – ideally overnight. (If you have used double-sided tape rather than glue, you will not need to leave your brooches to dry.)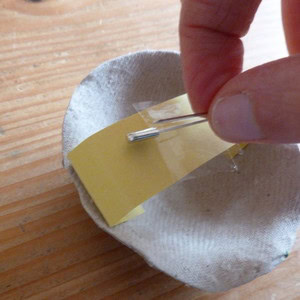
Step 5
Cut a strip of cardboard for the back of each brooch. Tape this to the inside of your brooch, bend it over and stick the other side. Then use sticky tape to attach a safety pin onto the strip.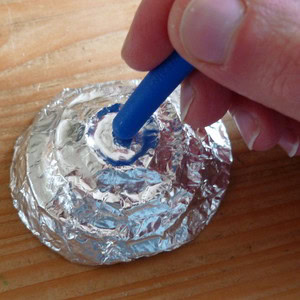
Step 6
Cover the front of each brooch in tin foil, carefully rubbing over the string to bring out the pattern. You may find it helpful to use the end of your glue spreader or a pencil to press the tin foil in around your string pattern.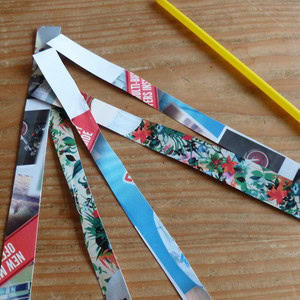
Step 7
Cut some long thin strips out from your colourful old magazines or junk mail. Each strip will make one paper bead for your Viking necklace.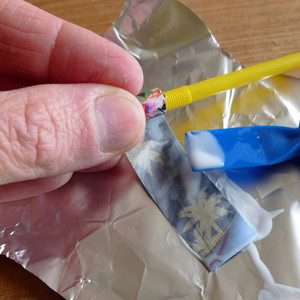
Step 8
Take one strip at a time, and wrap it tightly around the drinking straw, gluing the end in place. Once it is stuck, carefully slide the bead off the end of the straw.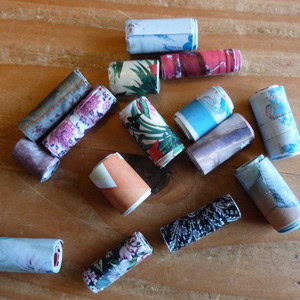
Step 9
Make a good selection of paper beads. The more beads you make, the longer you can make your necklace.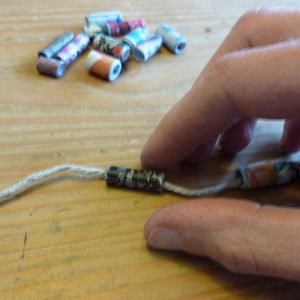
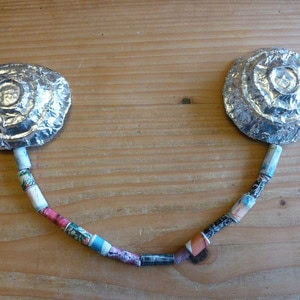
Step 10
Thread your beads onto a length of string. Then tie or stick one end of the string to the back of each brooch so that the bead necklace joins the two brooches together.