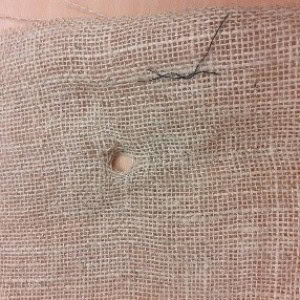
Make do and Mend

Overview

Rationing was a way of life during World War 2 in Britain. Rationing began on 8th January 1940 when bacon, butter and sugar were rationed. By 1942 many other foodstuffs, including meat, milk, cheese, eggs and cooking fat were also ‘on the ration’. Rationing was a means of ensuring the fair distribution of food and commodities when they were scarce. This activity will give you the chance to learn how people made do and mended their old clothes.

Background

Rationing for clothing (and dressmaking fabric) was introduced in 1941 as factory capacity and raw materials were directed to the ‘War Effort’. Every scrap of fabric was precious and would be used to conserve ‘points’ in your ration book. The Imperial War Museum website has great background on rationing and this link specifically looks at clothing Imperial War Museum Clothes Rationing

Instructions

Great Yarmouth YAC

Adult supervision is not required for this activity.

Type of Activity : Crafting

How many people required (minimum) : 1

Safety Measures : Make sure pencils are not too sharp

Ages : 8-16

Time Required: 1+ Hours

Things to look out for

  • Don’t be tempted to reach for a new piece of fabric after step 1. This will end up as weaving and not a rag rug.
  • If the hessian is a loose weave don’t work too close to the edges of the square as it will fray.
  • Make sure you pull the tufts through onto the same side of the hessian every time if not you will end up with a double-sided rug!
  • If your fabric scraps are particularly thick i.e. denim or upholstery fabric you might need to make them thinner in width so they thread through more easily.

Questions/points for (further) discussion:

  • You could make one big rug which could be a collaborative project created over several weeks to be picked up whenever infill time is needed.
  • Useful way to address contemporary ideas of conserving resources and recycling – why is this important today?
  • Worn out clothing from family members would be used to make the rugs which could serve as poignant memory joggers post war. What would they select to remember?

Step 1

Use the pencil to poke a hole through the centre of the square and wiggle it about so it loosens the weave of the hessian.
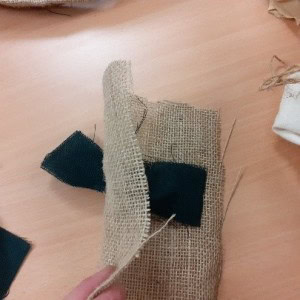
Step 2

Take ONE end of a fabric strip and push this halfway through the hole.
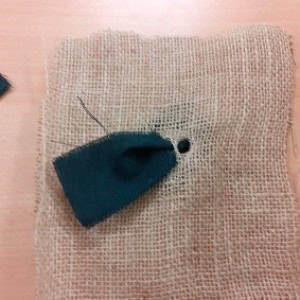
Step 3

Use the pencil/proddy to make another hole, no more than a finger’s width away from the first. Wiggle the pencil around to stretch the weave.
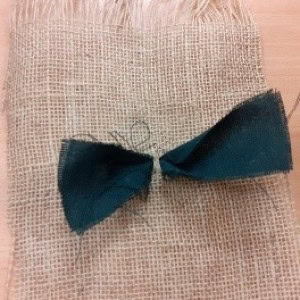
Step 4

Take the one end of the SAME piece of fabric and pull this part way through the hole so the two tufts of the SAME fabric are showing on one side.
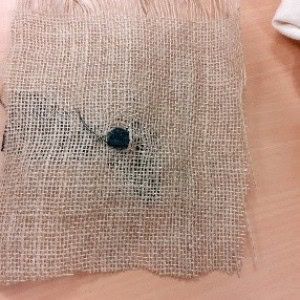
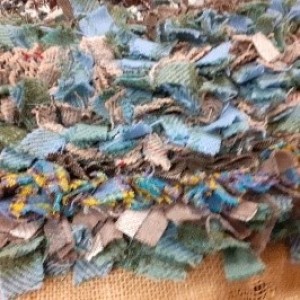
Step 5

Grab the two tufts and gently tug them at the same time so the fabric on the other side of the hessian is flat.

Step 6

Repeat the previous 5 steps, packing the holes close together so that the tufts stand up and the square is almost filled. When you have finished threading the fabric through you can trim the tufts to the same level if you wish.