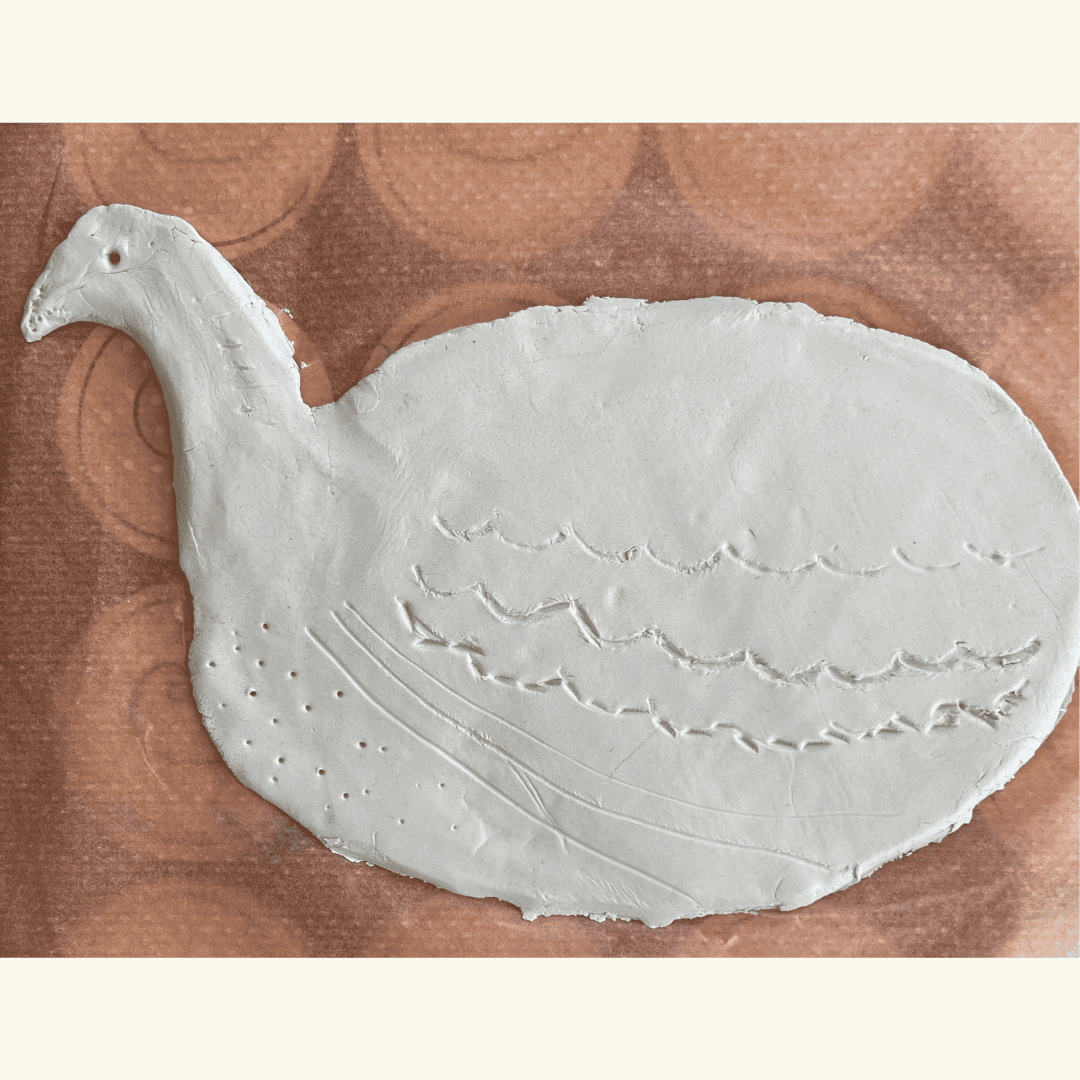
Safety considerations:
- Make sure any tools you use are suitable for use with clay and can be cleaned afterwards like your rolling pin.
- Make sure you cover your work surface with greaseproof paper, newspaper, a craft board or a plastic sheet to keep it clean and protected.
- When using sharp objects like a craft tool, or if you need to cut a section of clay to use, you must always be supervised by a responsible adult.
- Don’t use your palette to mix makeup on, clay will absorb any makeup you put on it and it cannot be cleaned because of this.
- Wash your hands before and after handling clay.
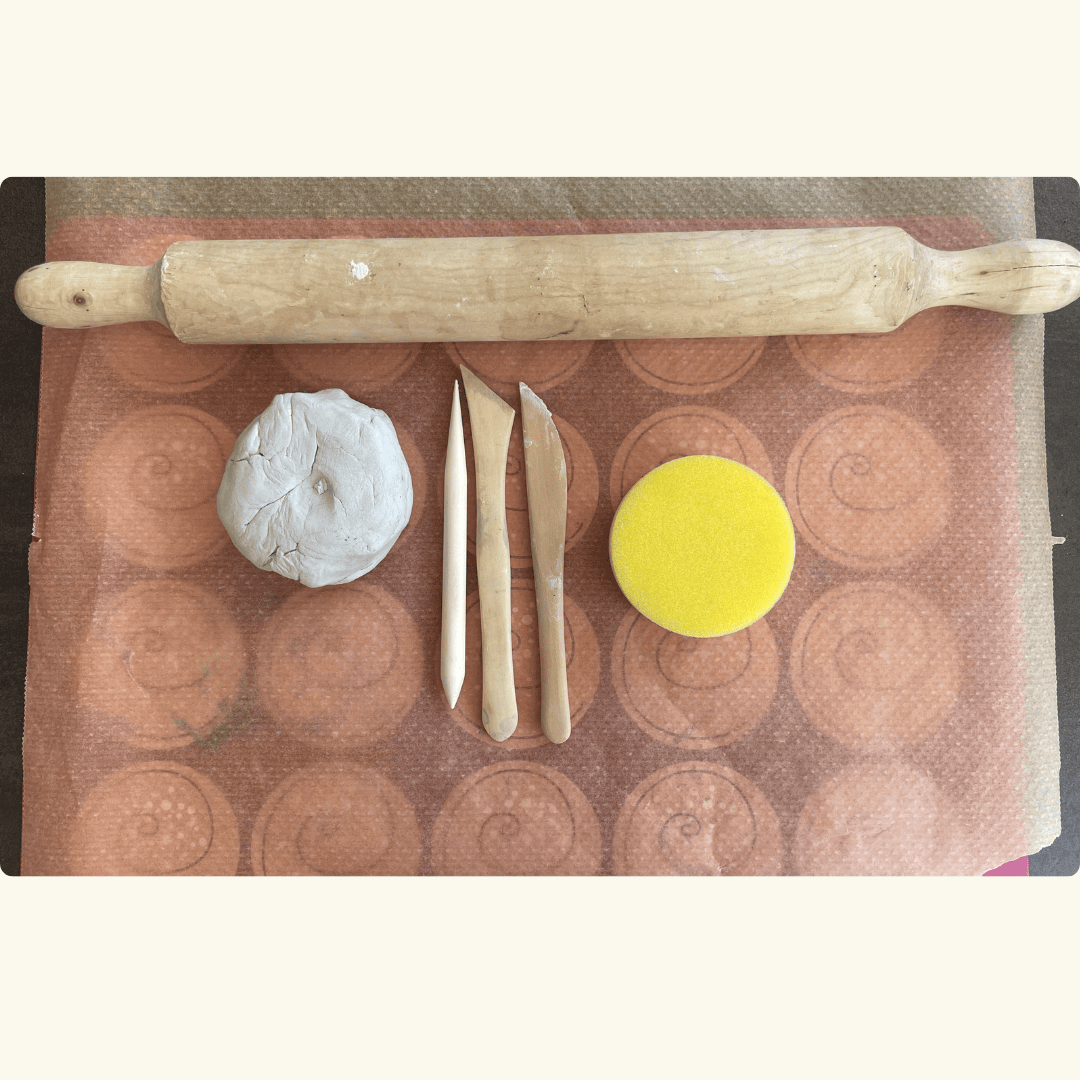
Step 1
Prepare your work surface, get all your tools ready, including the clay. Clay is usually packaged in a big block so you may need to ask an adult if you need to cut it into sections to use. Choose the right amount of clay- depending how big you want your palette to be.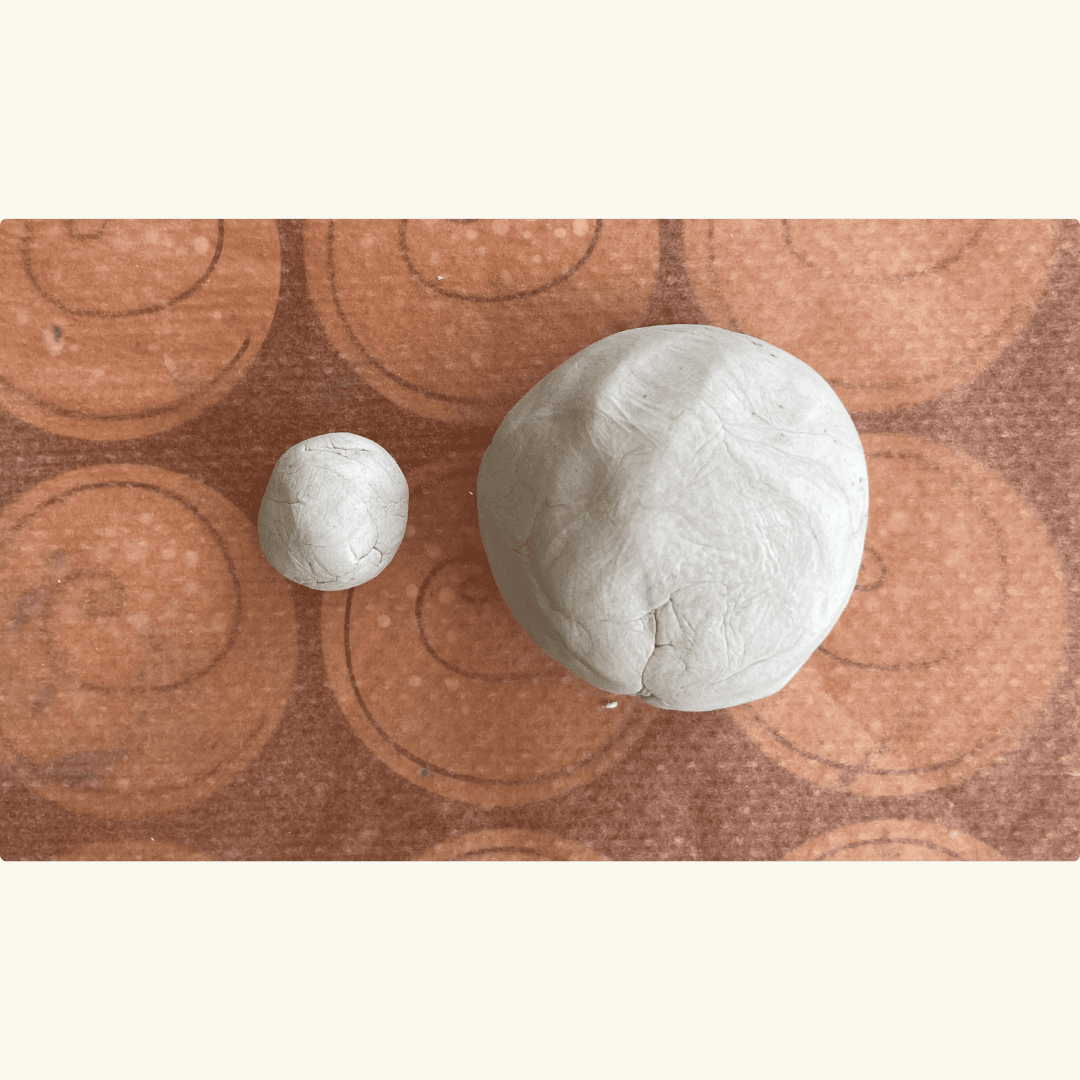
Step 2
Roll/knead your clay into one large and one small ball. We will use the large ball to make the animal’s body, and the small one to make features like the head and tail of our animal.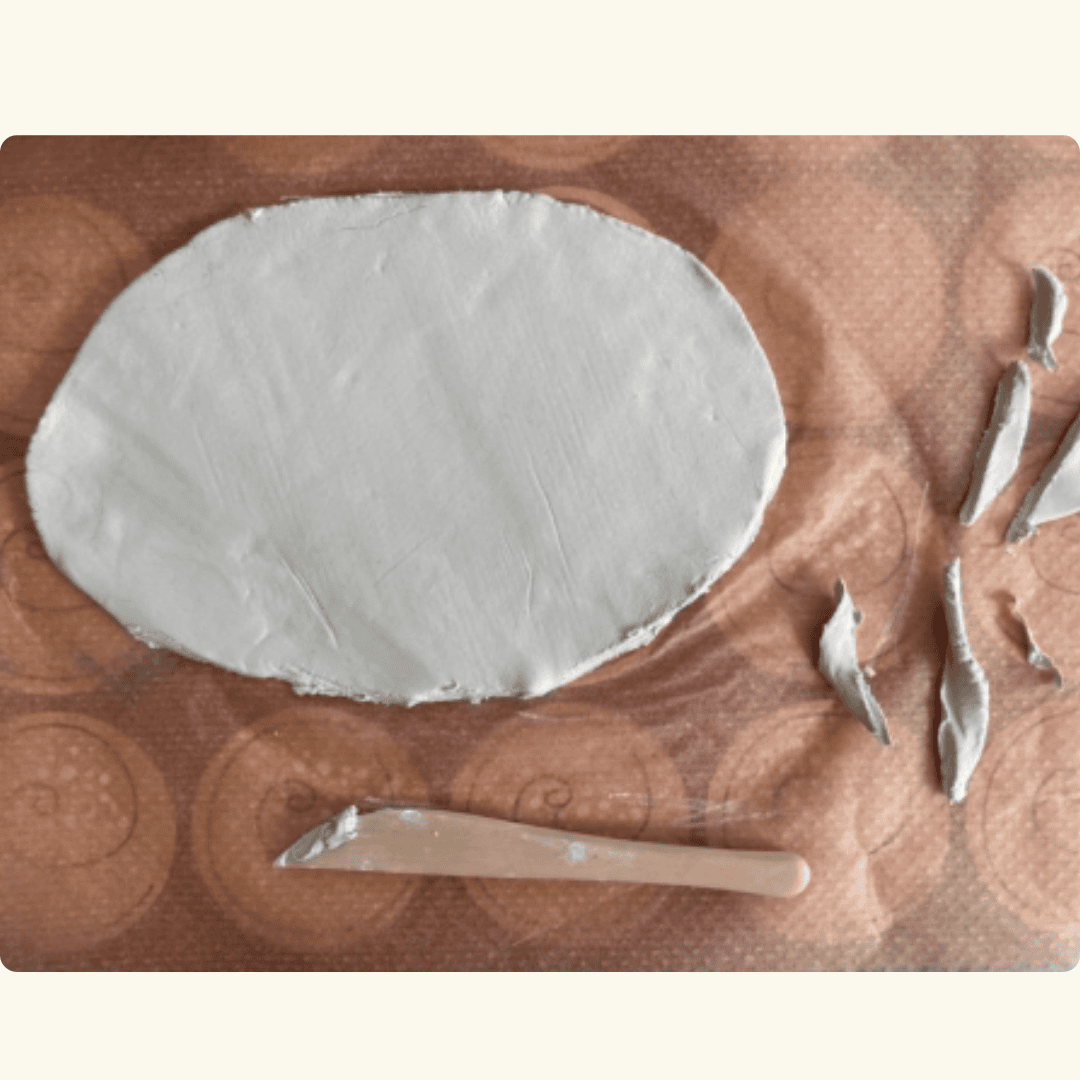
Step 3
Use a rolling pin to roll the large ball of clay into a flat circular shape. It does not have to be a perfect circle! You can use your craft tool to neaten the circle by cutting off irregular parts, as you can see in the picture. This round shape will represent the animal’s body. Your clay circle should be roughly 2cm thick, as palettes were quite thin. Now we have the animal’s body, we can make its other features. We will be making a fish but if you want to make another animal, use your imagination and get creative!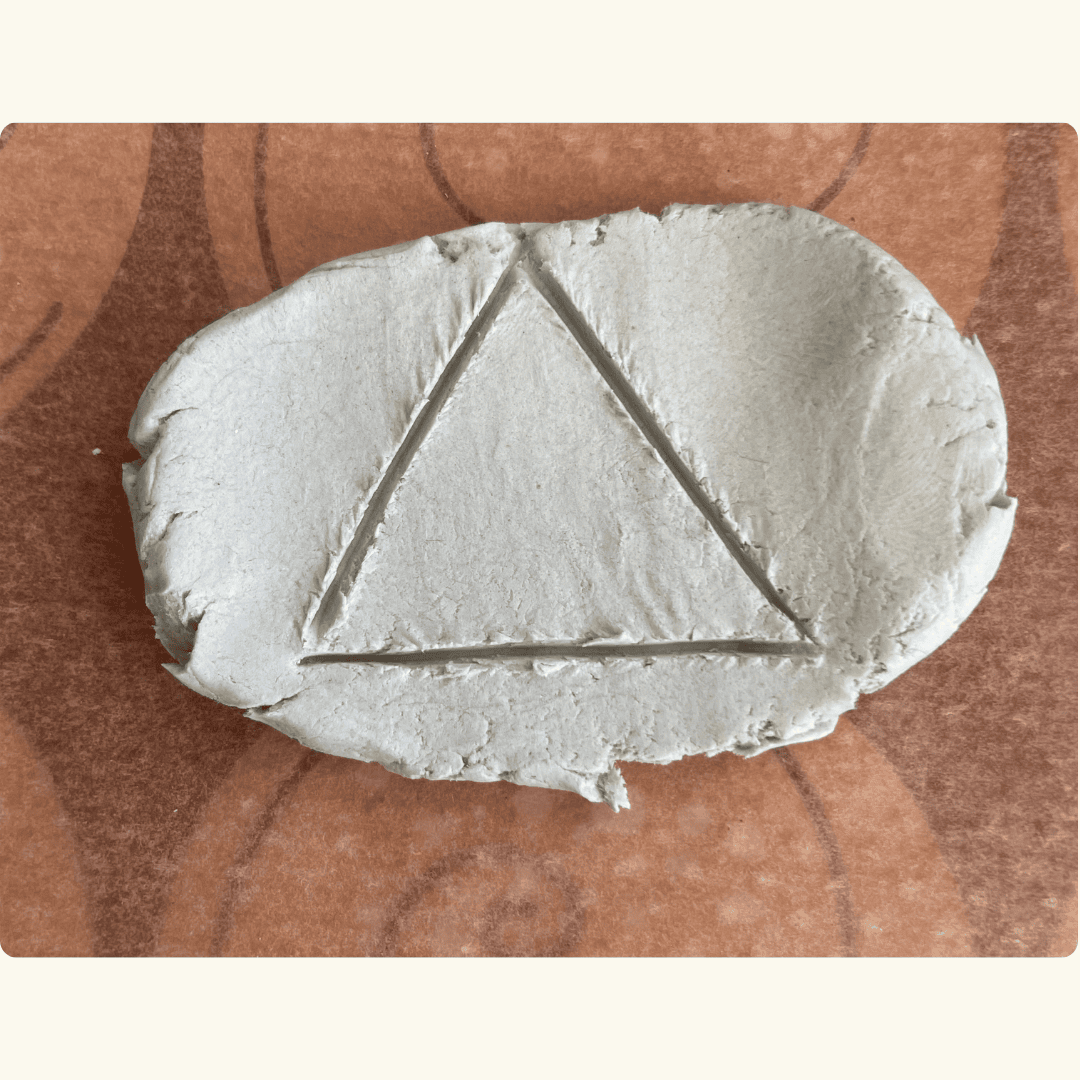
Step 4
To make a fish shaped palette, take one of your small balls of clay. This will be the fish’s tail. Use your fingers to squeeze and shape the clay or use your toothpick or craft tool to cut the clay into a triangle shape.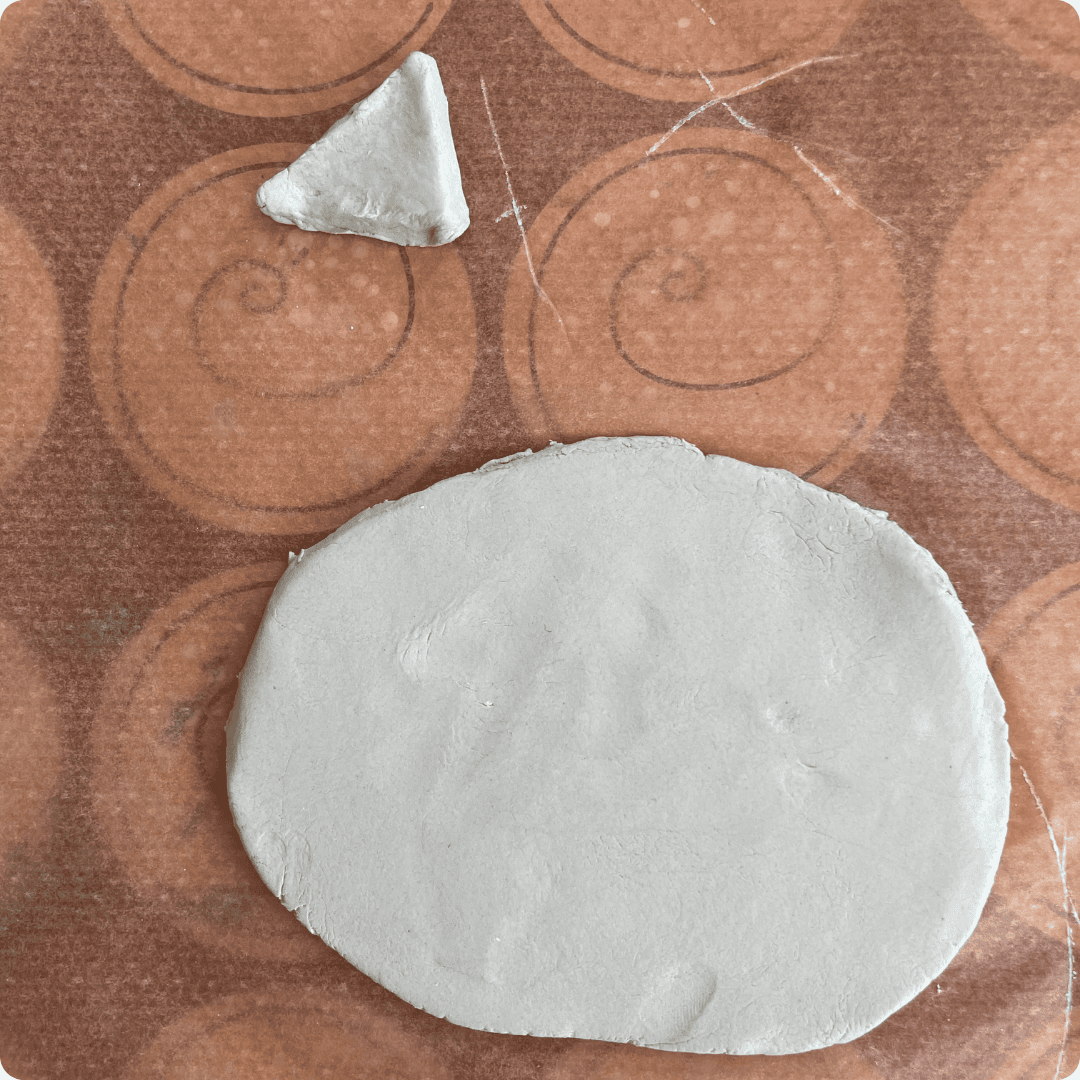
Step 5
Stick the tail onto one side of the fish’s body by pressing it down until the clay sticks together, or lightly roll over where the clay has been joined using the rolling pin until you can’t see the join.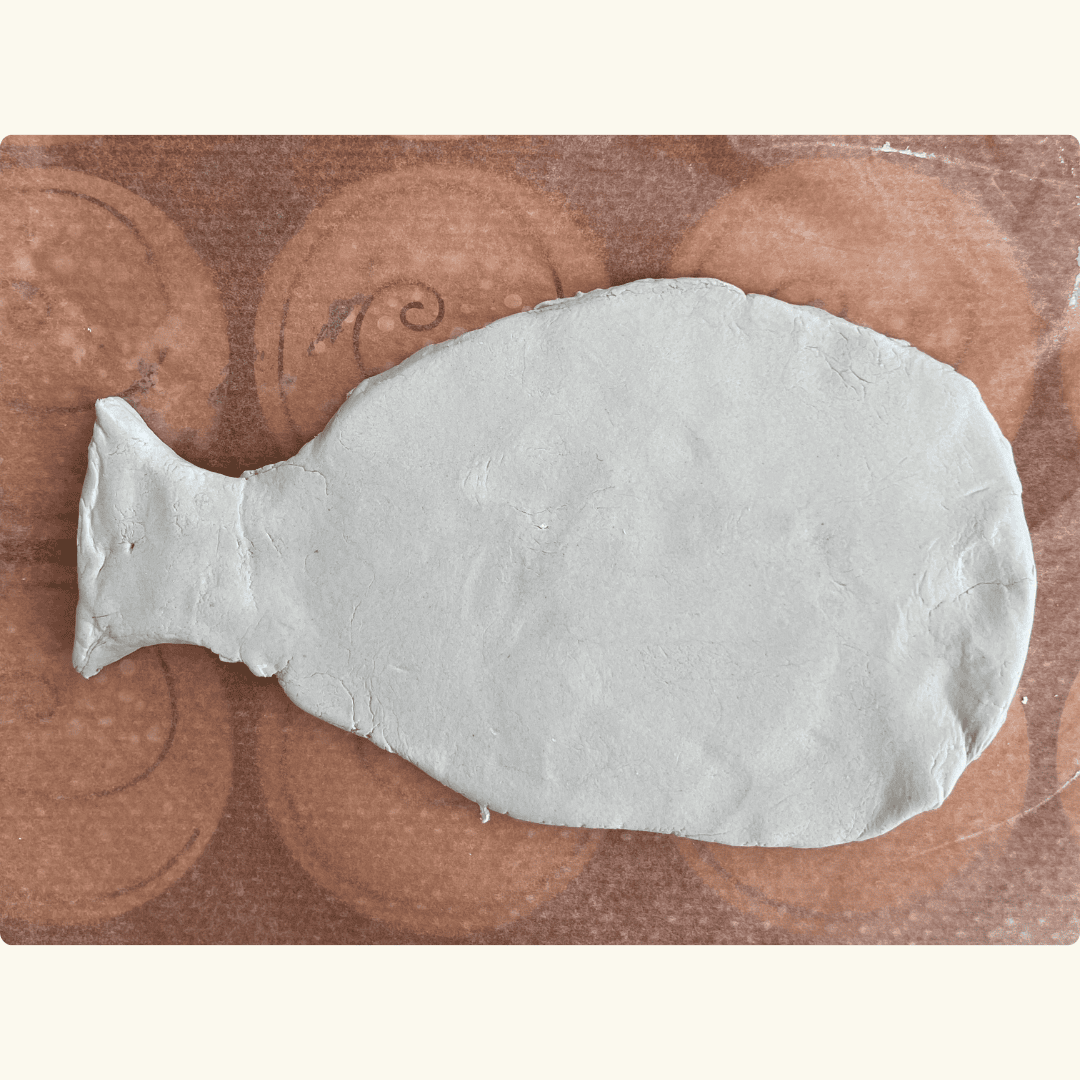
Step 6
Now you have a fish-shaped palette! It's now time to decorate... Use your toothpick, fork or craft tool to decorate your palette. You can use these tools to make patterns in the clay. Make an eye by poking a dot into your clay, or a hole all the way through. To make scales, you could lightly press on the clay with your tool and draw small ‘c’ shapes or lines that look like scales across its body and tail.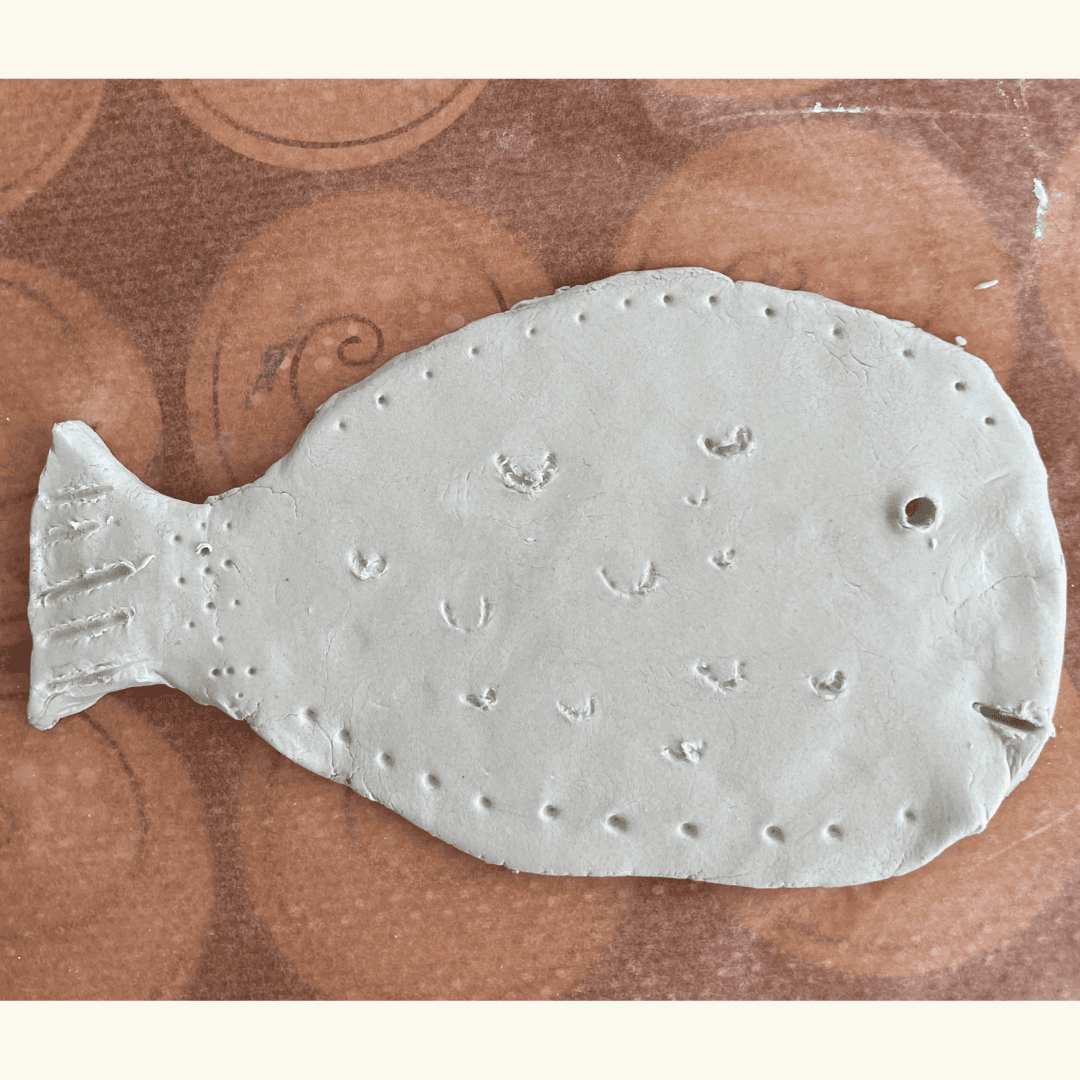
Step 7
When you are happy with the shape and decoration of your palette, you can now leave it to dry if you used air-dry clay. If you used plasticine, you don’t need to dry it, you have finished making your palette – well done!