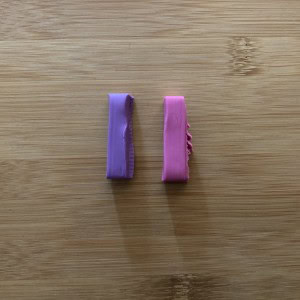
Step 1
To make a simple pendant for a necklace, start by choosing two colours of clay and breaking off a small strip of each.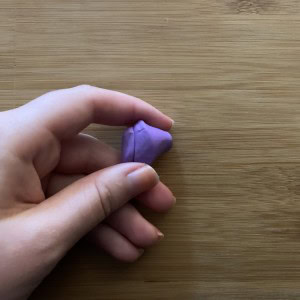
Step 2
Knead these two strips with your fingers until they are warm and soft.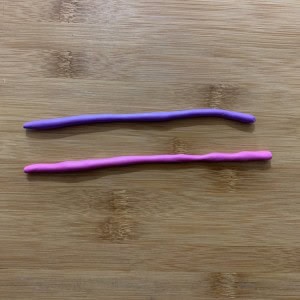
Step 3
Then, using the palms of your hands roll them into two balls. On top of a hard surface (like a table), roll each ball into a sausage shape about the length of your hand.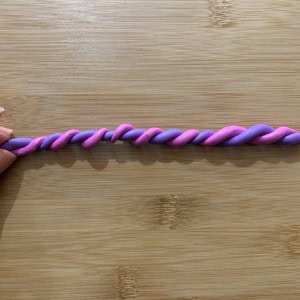
Step 4
Plait these two ‘sausages’ of clay together, by winding one colour around the other. Then mould this into another ball. If you want your colours to be even more mixed up, make another sausage out of this ball (and then a final ball).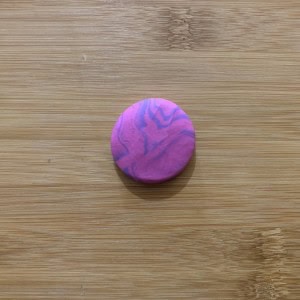
Step 5
Gently squeeze the ball to flatten it into a suitable circle shape. Think about how thick and wide you would like your pendant to be.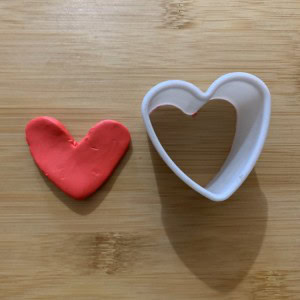
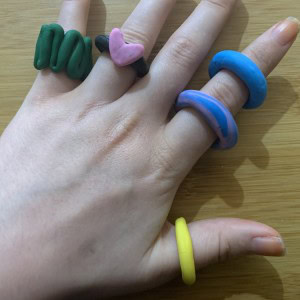
Step 6
You can get creative and make as many pendants as you like, trying lots of different designs and colours. Cookie/clay cutters can be used to easily create interesting shapes. To make a ring, roll a short sausage of clay and mould together its two ends.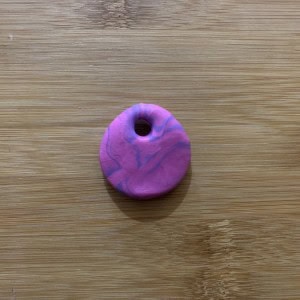
Step 7
Using an object with a circular end (we used a mental straw), poke a hole in any designs you want to be necklace charms. Make sure the hole is big enough to fit your string through and not too close to the edge.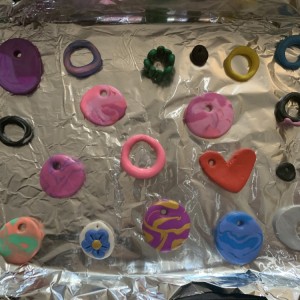
Step 8
Time to bake your jewels! Place all your creations onto a non-stick baking tray or one with tin foil on top. Bake for around 25 minutes at 120°C (check for specific timings on your clay’s instructions). Caution: Your clay designs will be very hot when they come out of the oven and will not properly harden until you have let them cool.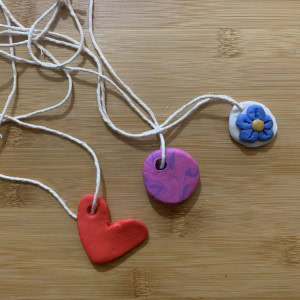
Step 9
Once they have cooled, cut a piece of string and thread this through your pendants to make the necklaces. Top tip: You can glaze your clay jewellery with clear nail varnish to make it nice and shiny.