Step 1
Copy the purse pattern outline and dots onto your cardboard and cut it out (or download and print our purse template). Carefully punch holes in the cardboard where the dots are marked to make your cardboard template.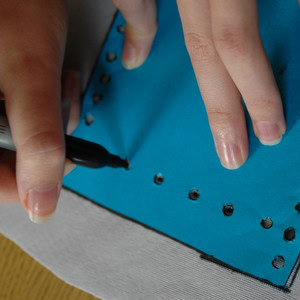
Step 2
Draw around the template on the back of your leather or leatherette using a marker pen, mark each hole too. You need to make two of these shapes to make your purse.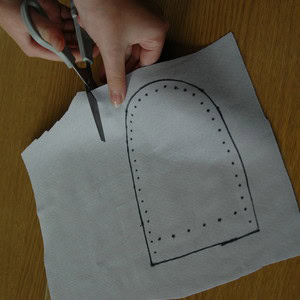
Step 3
Cut out both pieces of your purse.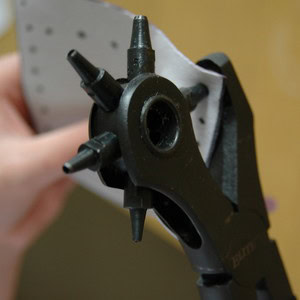
Step 4
Punch holes in the leather where you've marked the dots, using the rotary hole punch. Or you can make the holes using a sharp tool like a bradawl; you'll need to get an adult to help. It is very important that these line up on both pieces of leather (if your hole punch is strong enough, punch through both pieces at once).Step 5
Measure and cut out four 50cm lengths of cord.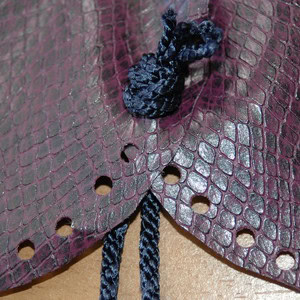
Step 6
Lay your two purse pieces flat (leather sides facing up) with the curved edges overlapping. The middle holes on the curved edge need to line up. Pass two pieces of cord through the middle holes and tie a knot to secure it on the outside. Your two pieces should now be joined with the knot on the outside, like in the picture.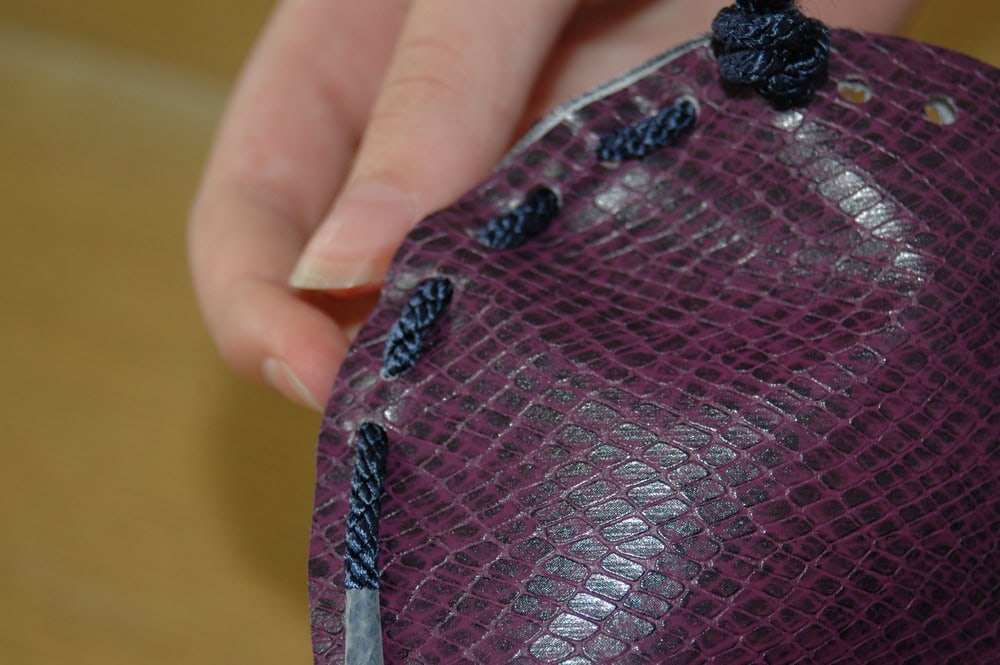
Step 7
Now you need to thread up the sides of your purse. Thread one cord in and out of the holes up one side of the purse starting from the middle hole.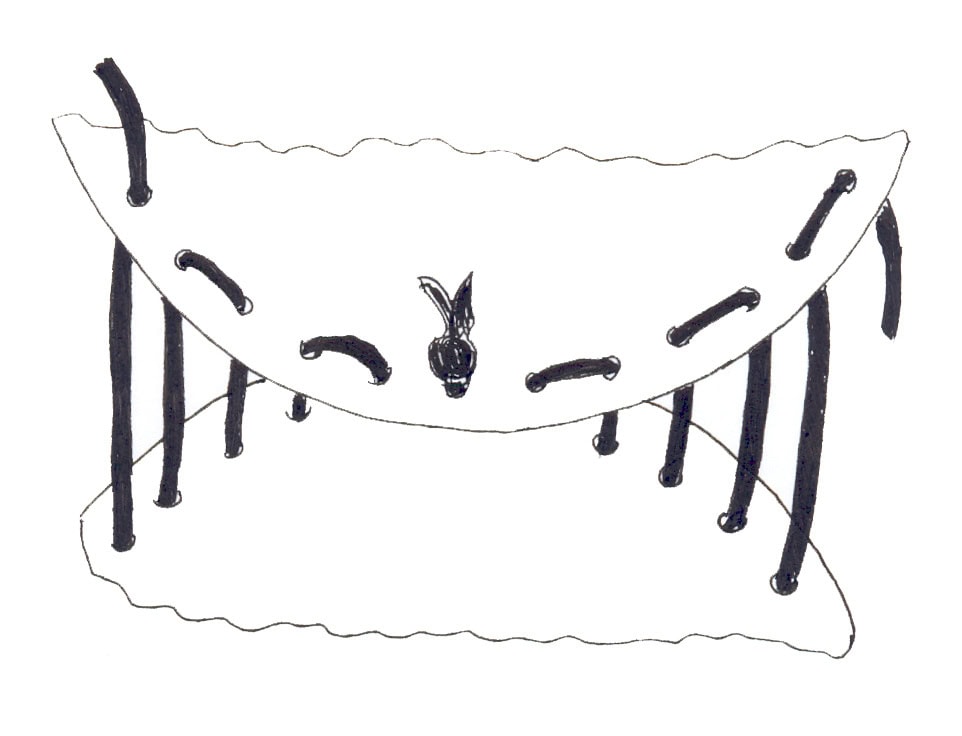
Step 8
Now repeat this with the other cord on the other side to create the body of your purse.Step 9
Tie the two ends of the cord together to make a loop at the top of your purse (this loop is how the purse would have been hung from a belt).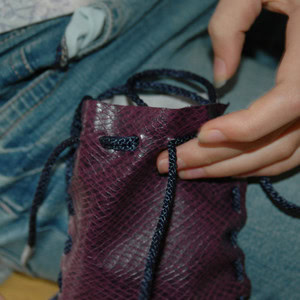
Step 10
To make the drawstring at the top of the purse, thread one of your remaining pieces of cord in and out of the holes right around the top of the bag. You need to start at one side and finish one hole from where you started.