Step 1
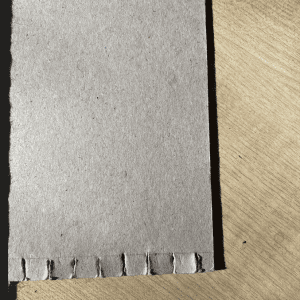
To make your simplified weaving loom, start with a piece of rectangular cardboard. The size of your cardboard will determine the size of your weaving, but it is best not to go too big. We suggest A4 sized rectangle. Carefully cut evenly-spaced slits along the top and bottom of your “loom” to create “teeth” – about 1.5cm long and spaced 1.5cm apart.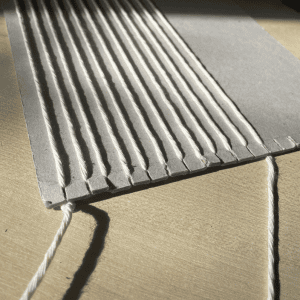
Step 2
Next add “warp thread” (vertical threads that hold the tension while you weave). To do this, simply knot the end of a ball of cotton string or any old yarn onto the first “tooth” along the bottom or top.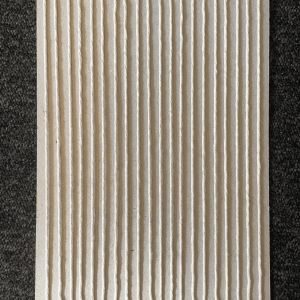
Step 3
Then loop this over the tooth on the opposite side, back around the second tooth in the row you started on and continue until the entire loom is covered in vertical strings. Tie it off onto the last tooth.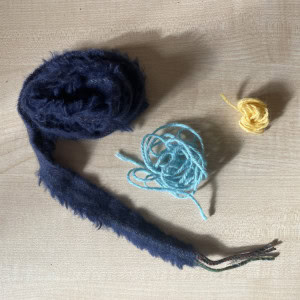
Step 4
To prepare your “weft thread” (horizontal weaves), you need to cut your fabric remnants into strips about 2–3cm wide and as long as you wish. You can also collect yarn of various lengths.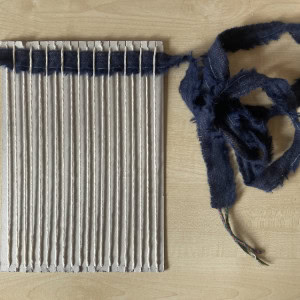
Step 5
Create the first row of weaving To start weaving simply add a fabric strip by first going over a warp thread and then under, then over and so on until you get to the end of the row. Then gently pull the rest of your strip through, making sure you leave at least 3–4 inches of the strip hanging. You can also weave with ribbon for contrast.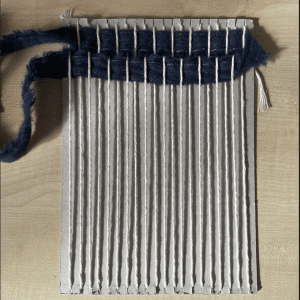
Step 6
Next, weave back in the opposite direction. If your last weave was “over” then start with “under” or vice versa. Then continue weaving until the entire strip has been added. Be sure to leave adequate length hanging off the sides. When using rag materials there is no real need to finish off ends.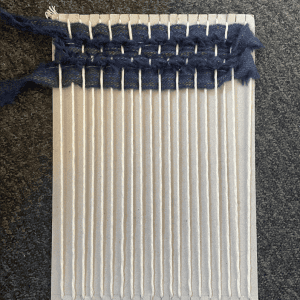
Step 7
Before starting a new colour strip, be sure to squash your weft upwards towards the top of your loom. You can use your fingers or a tool such as a pen, pencil, or spoon to push the weft fabric upwards.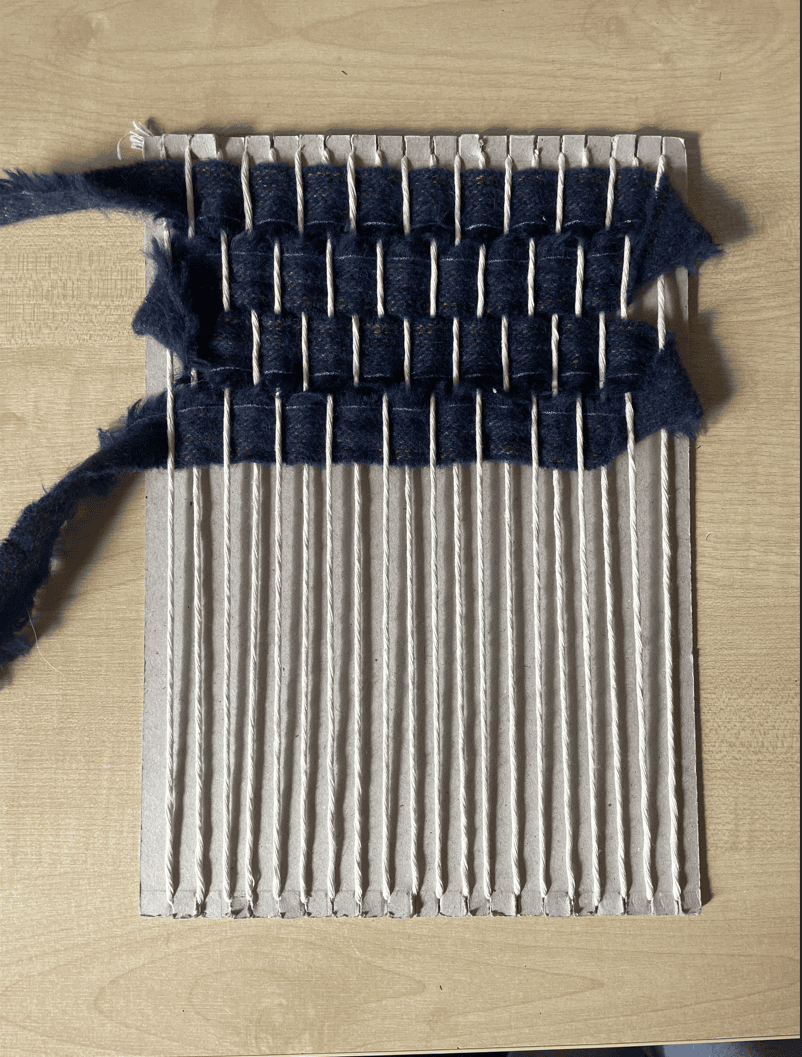
Step 8
(Additional image from step 7).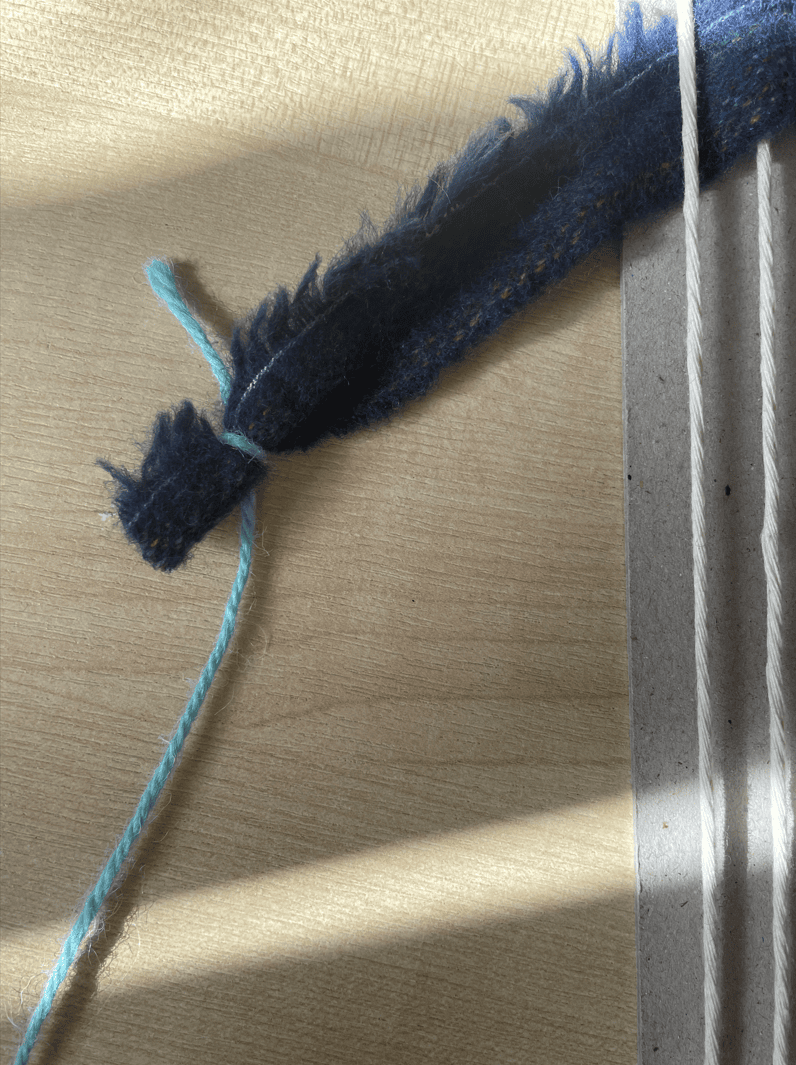
Step 9
To begin a new colour weft fabric or yarn, simply tie the ends together in knots to hold them.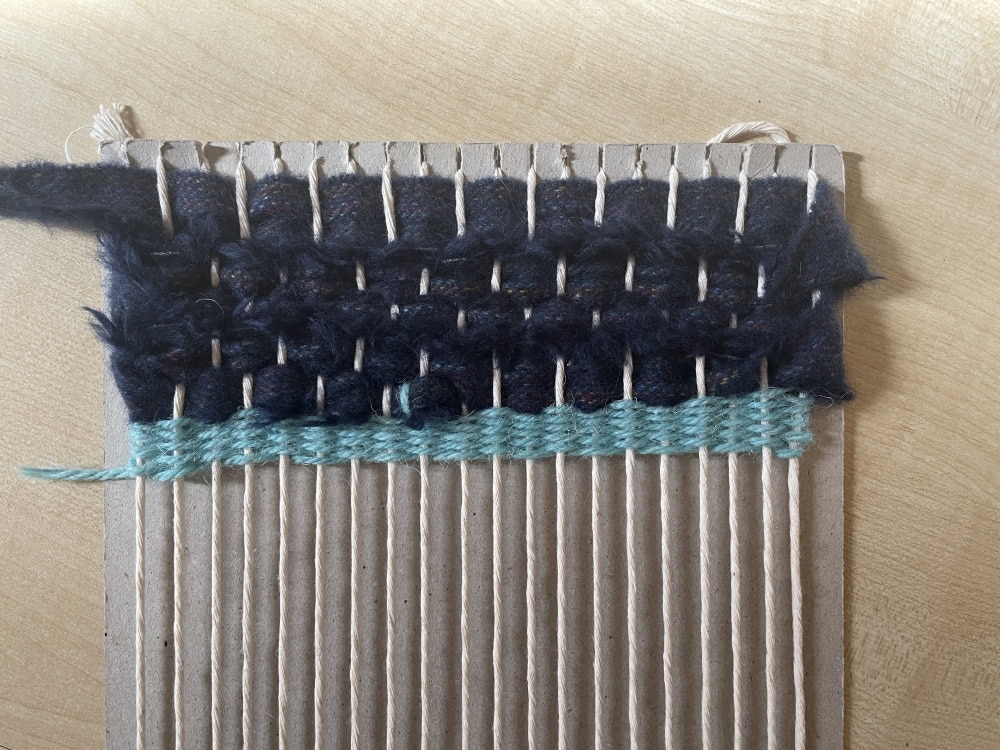
Step 10
You can then begin to weave your new colour the same way you did the first.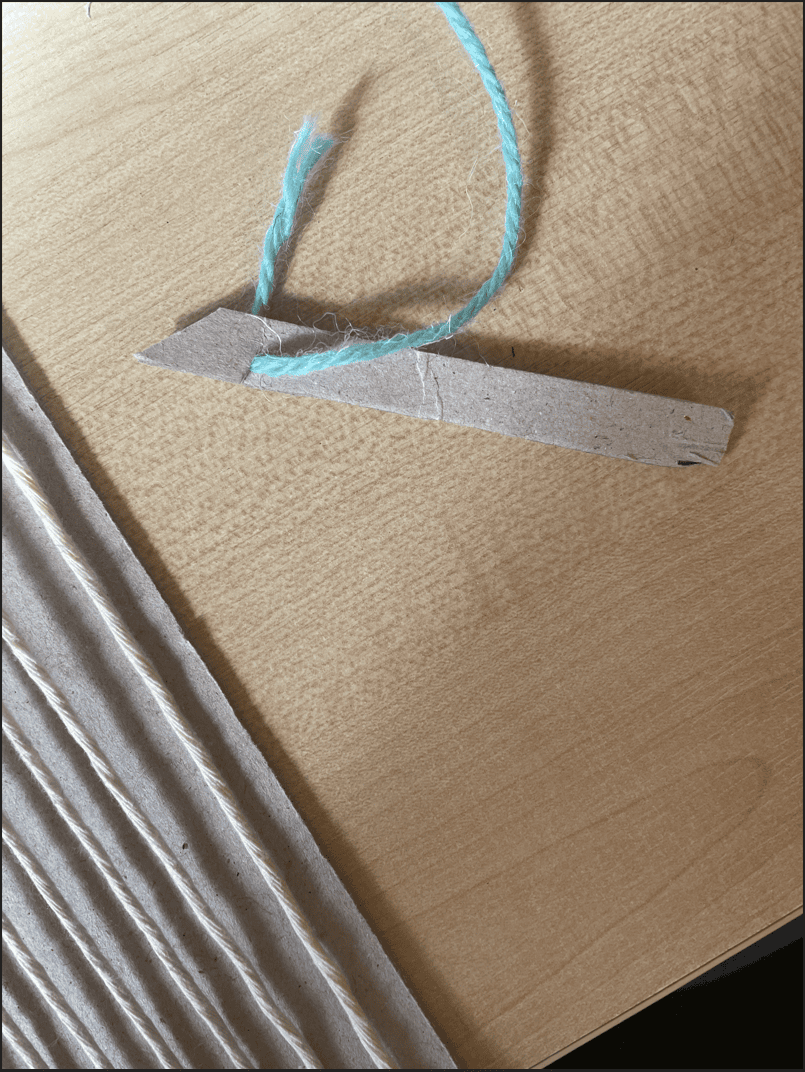
Step 11
Optional: make a loom 'needle' (used to pull through the weft yarn). Cut a bit of leftover cardboard to make a 10-15 cm skinny rectangle. Carefully cut a notch into the side of the rectangle, you will use this to attach and hold the yarn. This may make weaving easier, rather than only using your fingers to weave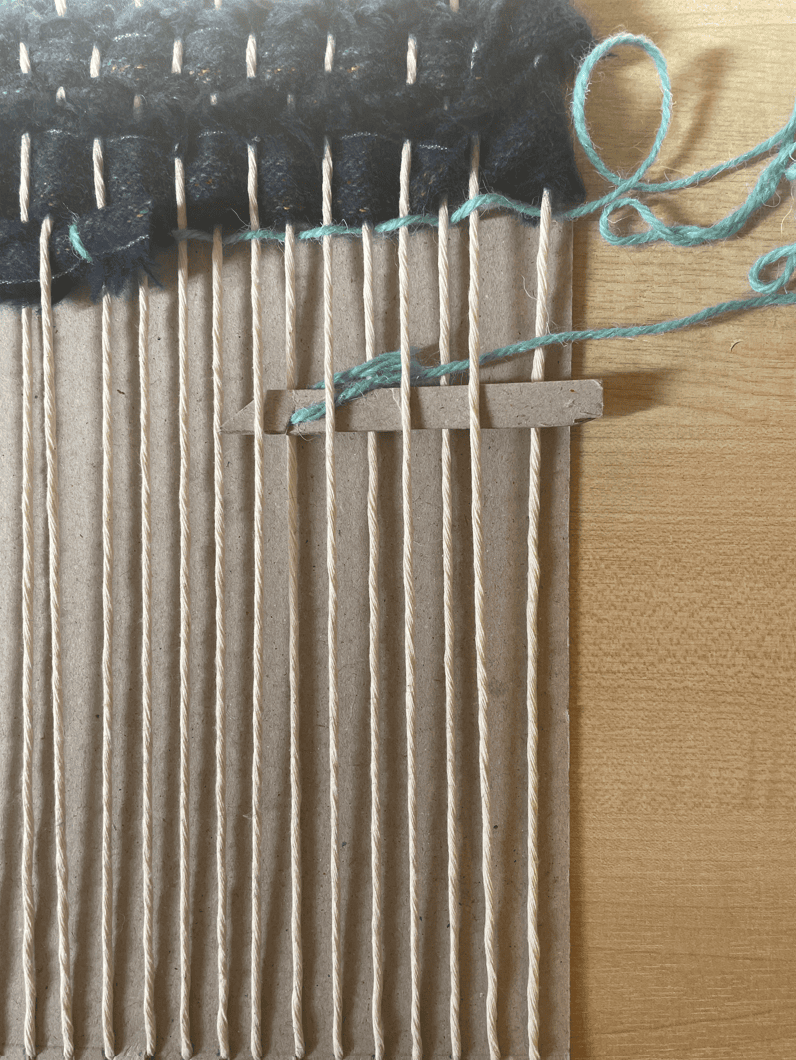
Step 12
Weave the 'needle' through the loom, going over and under the warp threads and pull the yarn through once you get to the end.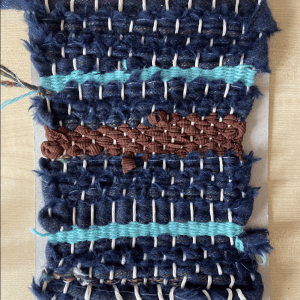
Step 13
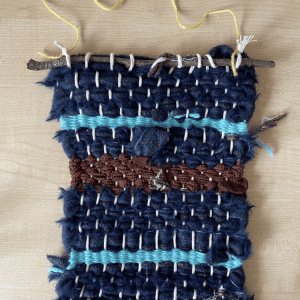
Continue to add different colours of your fabric or yarn. You can create a pattern or use random colours. Once you have completed weaving to the bottom of your loom, slide the string loops off the teeth at the bottom of the cardboard loom. You can leave them looped or cut them and tie the ends together in knots.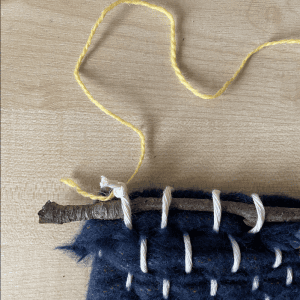
Step 14
To finish and hang your weaving, carefully slide the string loops off the teeth at the top of your loom one at a time directly onto a stick or dowel. Be sure to secure the knotted ends of your warp thread.