Step 1
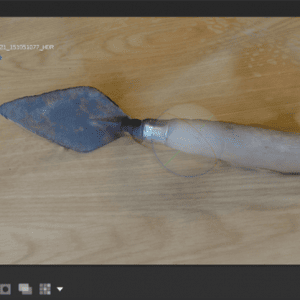
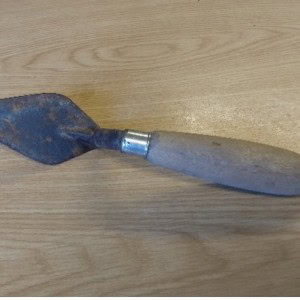
Firstly, pick out which object you want to turn into a 3D model. It can be anything you like from a family heirloom to a piece of pottery. In this case, I’ve used my old archaeological site trowel.Step 2
Set your object on a flat, stable surface like a clear table. Ideally, try and have it in a room with consistent lighting as having lots of shadows/darkened areas will make it harder for the software to work well.Step 3
Take your photos! Try to capture as many different angles as you can and get a mix of close-ups and far away shots. The more photos you have, the better. Also, remember not to move the object until you’re completely finished. If your 3D model has any gaps, you might be able to fix this by taking some extra photos later.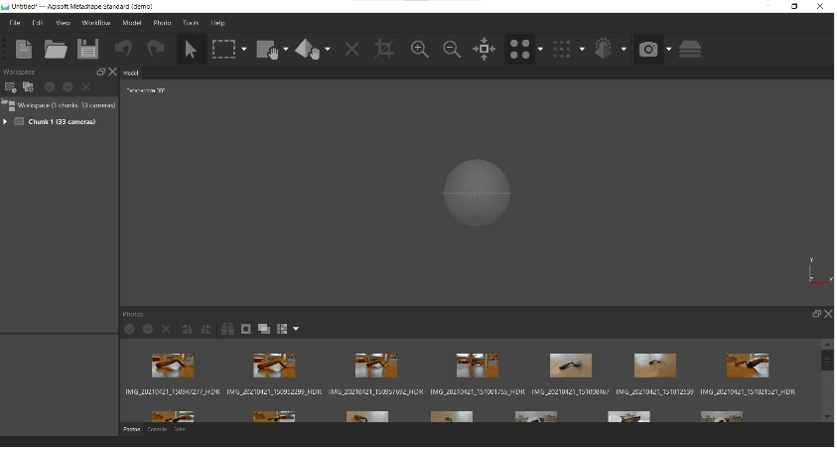
Step 4
Download your photos onto your computer. Open up Agisoft Metashape. Clicking on the grey sphere in the centre will allow you to rotate your view of the model. You can also scroll the middle mouse wheel to zoom in/out and hold the middle mouse button to pan.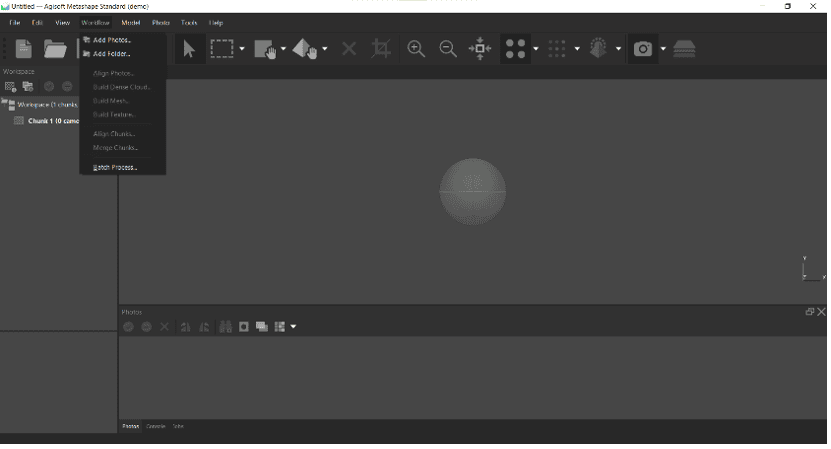
Step 5
Go to the Workflow tab in the top left and click “Add Photos” so you can select all the pictures you took.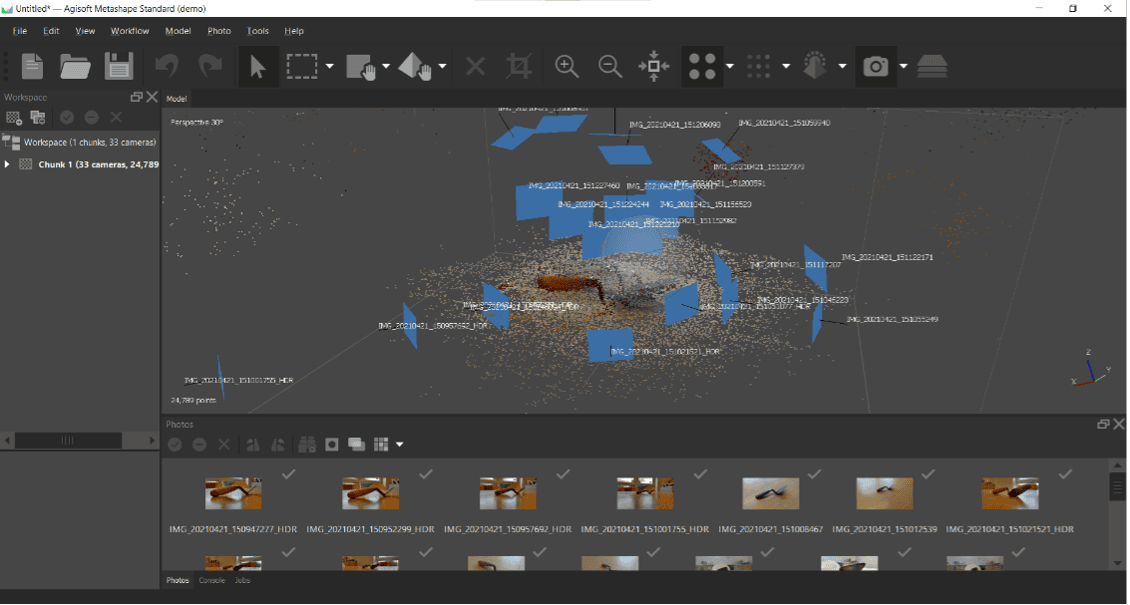
Step 6
Now we can start to build the model. Firstly, go back to “Workflow” and click “Align Photos”. These settings should work fine for your first project.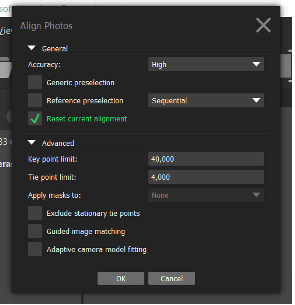
Step 7
(Additional image from step 6).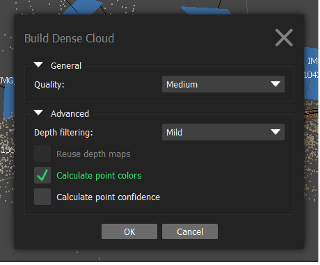
Step 8
Now we need to start connecting all these little dots together. Go back to “Workflow” and click “Build Dense Cloud” and use the following settings.
Step 9
Next, go to “Workflow” and “Build Mesh” with the following settings.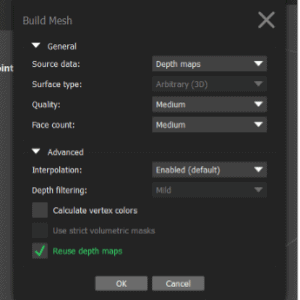
Step 10
(Additional image from step 9).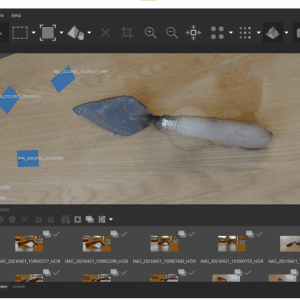
Step 11
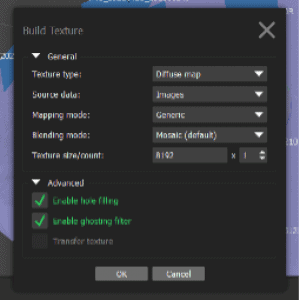
Finally, we can add the texture to the model. Once again, it’s “Workflow” followed by “Build Texture” with the following settings. To add or reduce the level of detail, you can change the “Texture count” value between 4096-16384. However, increasing it above 10,000 may result in your computer not being able to complete the model.