Step 1
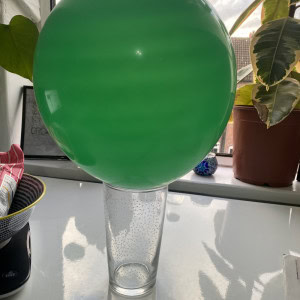
Blow up a balloon and tie a tight knot in it. Place the balloon in a glass or bowl to stabilise it if you want (we sellotaped it to the glass to stop it from falling).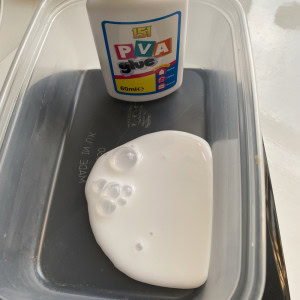
Step 2
Pour PVA glue into a container and mix in a small amount of water to loosen it. Put in a little bit of water at a time until the mixture has the consistency of single cream. If there is too much water it will take a lot longer to dry between layers.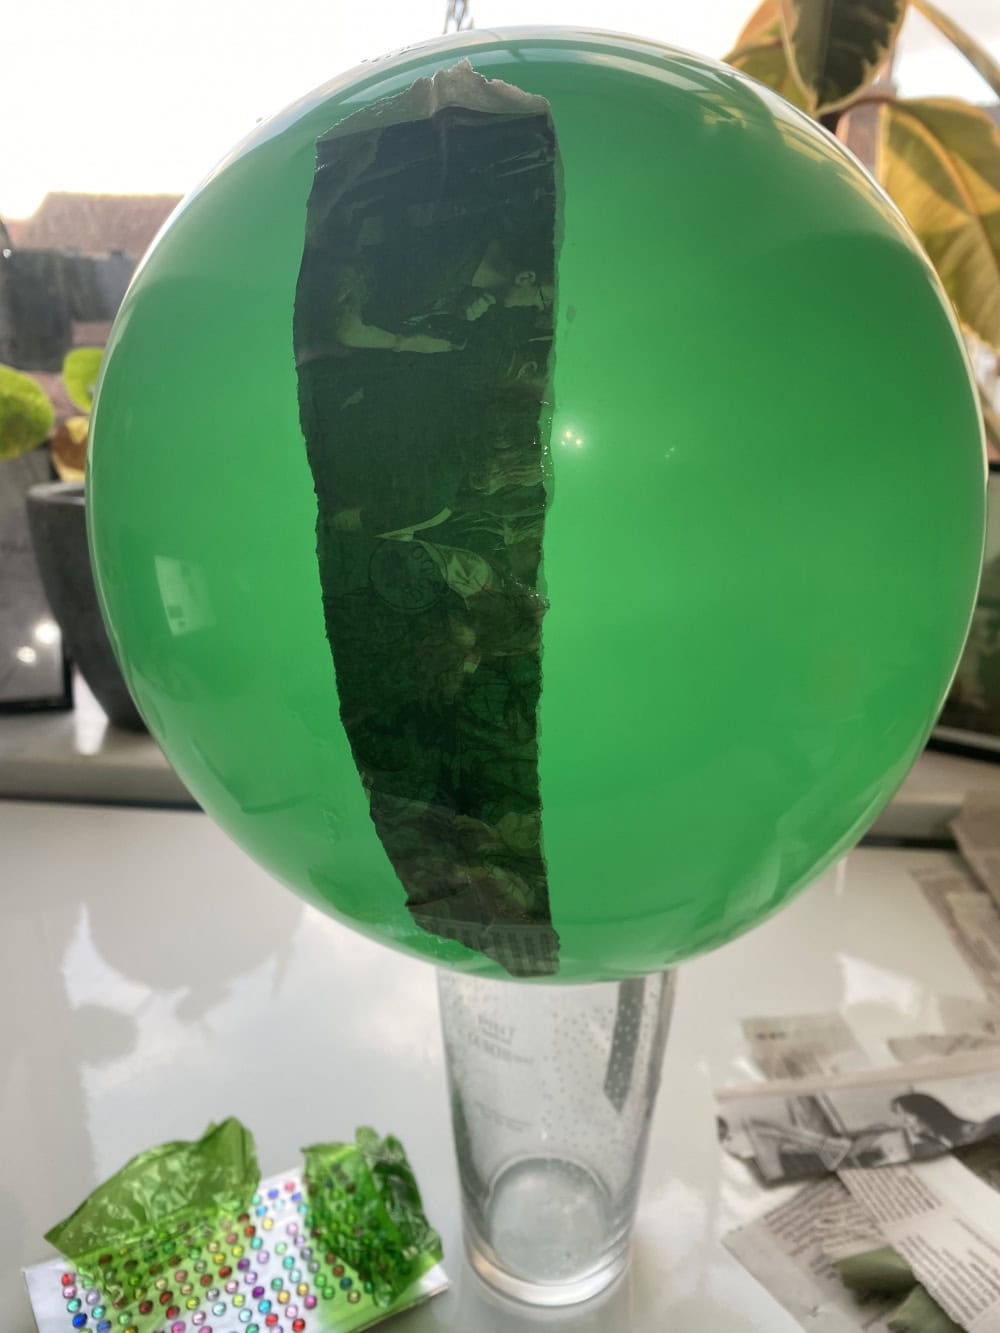
Step 3
Cut your newspaper into long strips. Dip each strip into the glue mixture and run then your fingers along it to get rid of the excess. Then lay your strip vertically on to the balloon.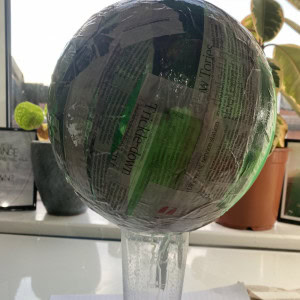
Step 4
Keep adding glue-covered strips to the balloon until you've covered the part facing you (enough to make a mask). Leave the first layer to dry.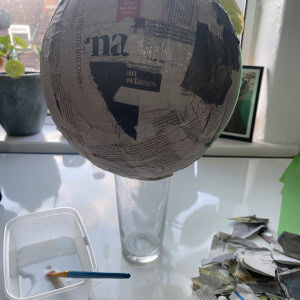
Step 5
Tear your remaining strips of newspaper into square-ish pieces. Use a paintbrush to paint glue onto the first layer and stick the new pieces to it. Make sure to paint over each new piece with glue as you go to make sure it sticks fully. Leave the 2nd layer to dry.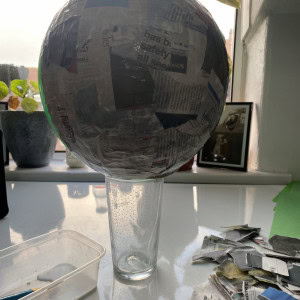
Step 6
Once the 2nd layer is dry, add a 3rd layer of newspaper and glue if needed to make sure it is solid and won't bend. Leave this final layer of newspaper to dry.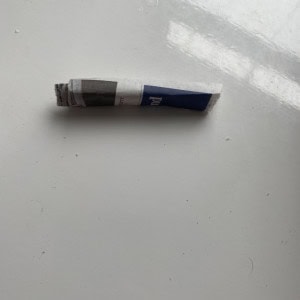
Step 7
Roll up two similar sized square-ish pieces of leftover newspaper into eyebrows.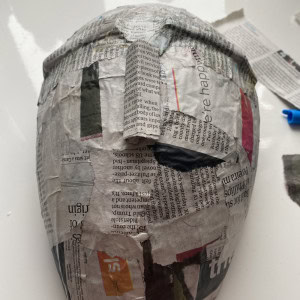
Step 8
Ask an adult to burst the balloon with something sharp (like scissors) and cut off any excess around the edges to make it mask-shaped. Then place the eyebrows onto the mask – you can also fold up some paper to create a nose if you like. Cover the eyebrows and nose with pieces of newspaper and glue again to stick them in place and leave them to dry.
Step 9
Paint the whole mask white and leave to dry.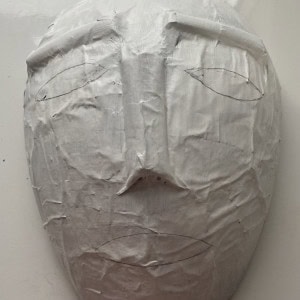
Step 10
Draw on in pencil where you want the eyes and mouth to go. If you would like to wear the mask please ask an adult to cut these using scissors or a craft knife.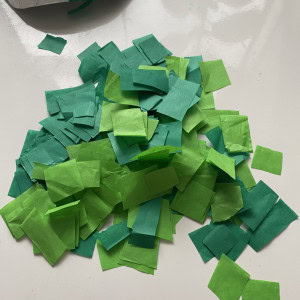
Step 11
Cut different coloured tissue paper into small pieces. You don't need to be too precise about the shapes as having a variety will make it easier to fill in any gaps on your mask.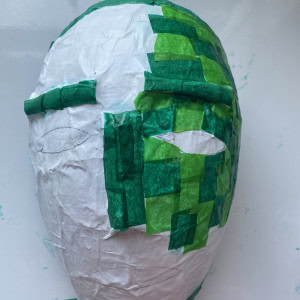
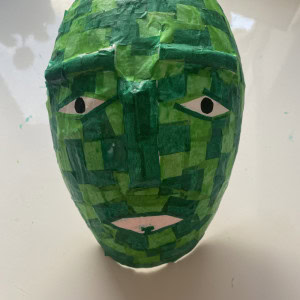
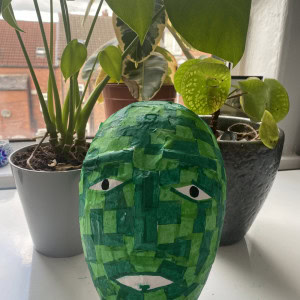
Step 12
Using the same process as the newspaper, stick the pieces of tissue paper to the mask using the glue and water mixture – use a layer of glue to stick each piece to the mask and then another layer over the top to make it shiny. You can stick the pieces on it whatever design you want. We chose to use dark green to pick out the eyebrows, nose and around the edges.