Step 1
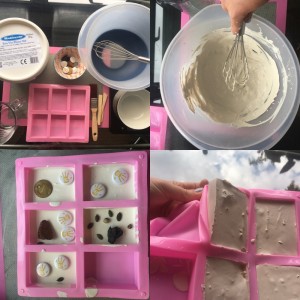
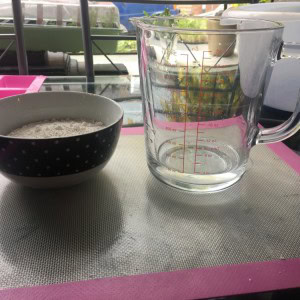
How to prepare the block: Use the bowl, container, water, Plaster of Paris, and spatula to prepare an appropriate amount of Plaster of Paris. Make sure you follow the instructions on the packaging and you can add in a bit of sand to create a more natural texture if you like. More water in the Plaster of Paris will make the finished block softer and easy to excavate while less water will make it harder.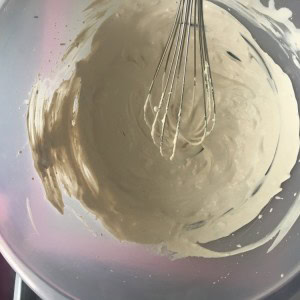
Step 2
(Additional image from step 1).Step 3
If your mould is something reusable like a bread or muffin tin, line it with cling film so that the block can be removed after it hardens. If the mould is disposable, like a small box or plastic cup, this is not necessary. You can simply cut the disposable mould off the block once it hardens.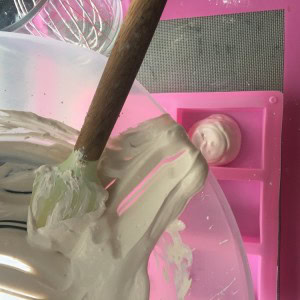
Step 4
Pour a thin layer of the mixture into the bottom of your container.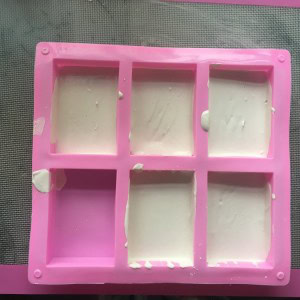
Step 5
(Additional image from step 4).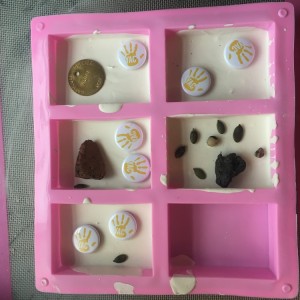
Step 6
Drop an object into the setting plaster, that will act as your ‘oldest‘ artefact—a potsherd or bone. The closer it is to the bottom, the older it is. No plastic at this depth!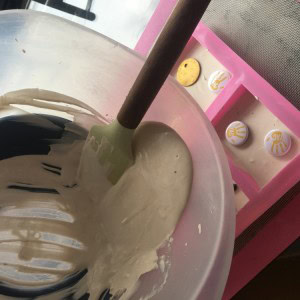
Step 7
On top of this layer, pour in more plaster to form a middle layer. Add a ‘younger’ artefact, perhaps a coin or bead.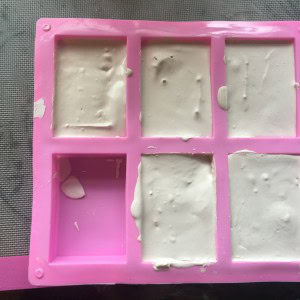
Step 8
Pour in some more plaster to make the final layer and add in a plastic artefact. This will help signify that the layers on top are the most recent. If you want you can leave a portion of the plastic showing above the surface to show that there are artefacts to be discovered inside the block.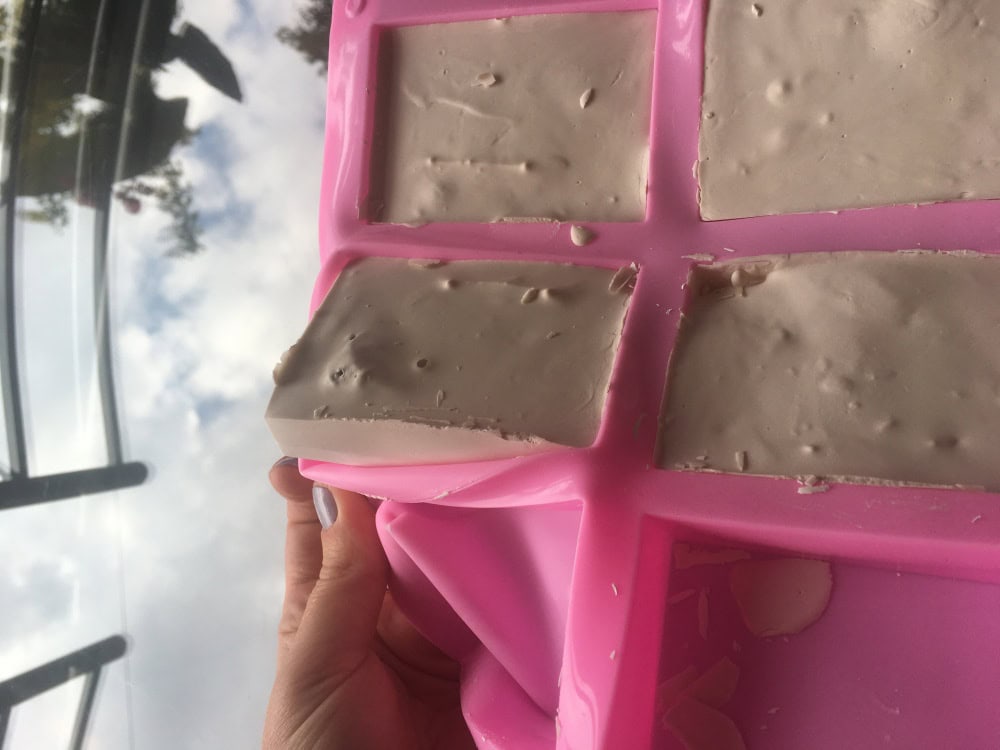
Step 9
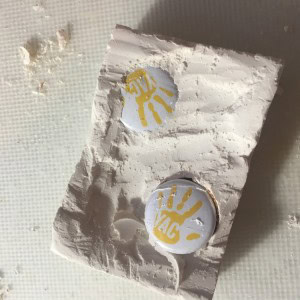
Allow the plaster to dry. This should take about 1 to 2 hours, depending on the size of the block that you’re prepared. Once the plaster is dry, remove it or cut away the disposable mould. The block is ready to be excavated!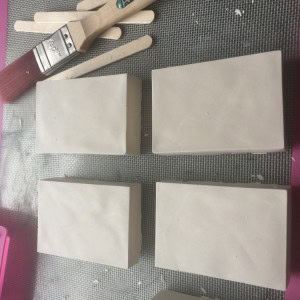
Step 10
How to excavate: Place your block on top of a protective surface, such as a plastic tablecloth or some newspaper.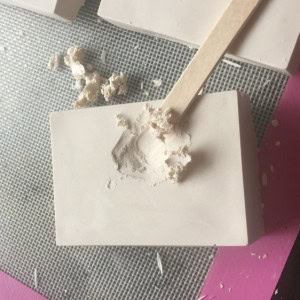
Step 11
Take your clay tools or lollipop stick and begin to chip away at the block. Use your paintbrush to clear the block of dust if necessary. Start where you think an artefact might be and if you find one, keep going down in layers!