Make a Stratigraphy Jar

Overview

Create your own archaeological layers using things found in your home and garden

Background

What is stratigraphy? 

Stratigraphy is used to study different layers in the ground which have built up over time. Often we see stratigraphic layers in geology, the oldest layer at the bottom and the newest (most recent layer) is at the top.

Changes to colour, texture or what is included in the layer can tell us that we are looking at a different stratigraphic layer or context.

How is stratigraphy used in archaeology? 

Stratigraphy helps us to understand what had happened in the past. If a Roman find is uncovered in the same stratigraphic layer as some post holes we can tell that the Romans dug the holes, probably to put up a building! We can also interpret the site by studying the layer above and the layer below and interpreting the relationship between the different layers.

Instructions

Vanessa Oakden – Museum of Liverpool and Mersey & Dee YAC

Adult supervision is not required for this activity.

Type of Activity : Crafting

How many people required (minimum) : 1

Ages : All ages

Time Required: 1 hour

Step 1

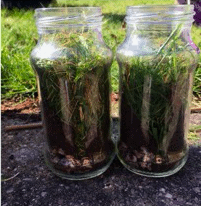
Get a clean, clear glass jar. If you don't have a jar you could use a clear plastic tub or container.
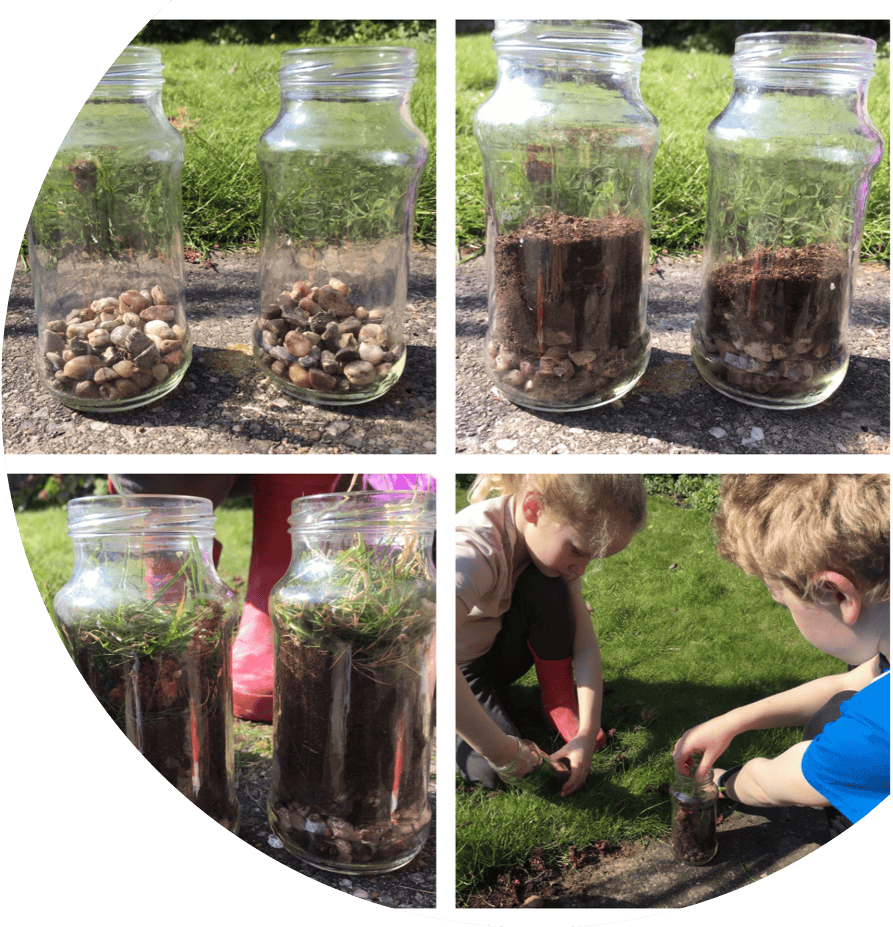
Step 2

Fill your jar in different layers, think about what might be happening in each layer. Does your jar have small stones in the bottom to represent bedrock or a river bed? Add a few different layers, try different textures of soil, sand, stones or any other interesting bits you might find. You could even put a few finds such as buttons into your jar.
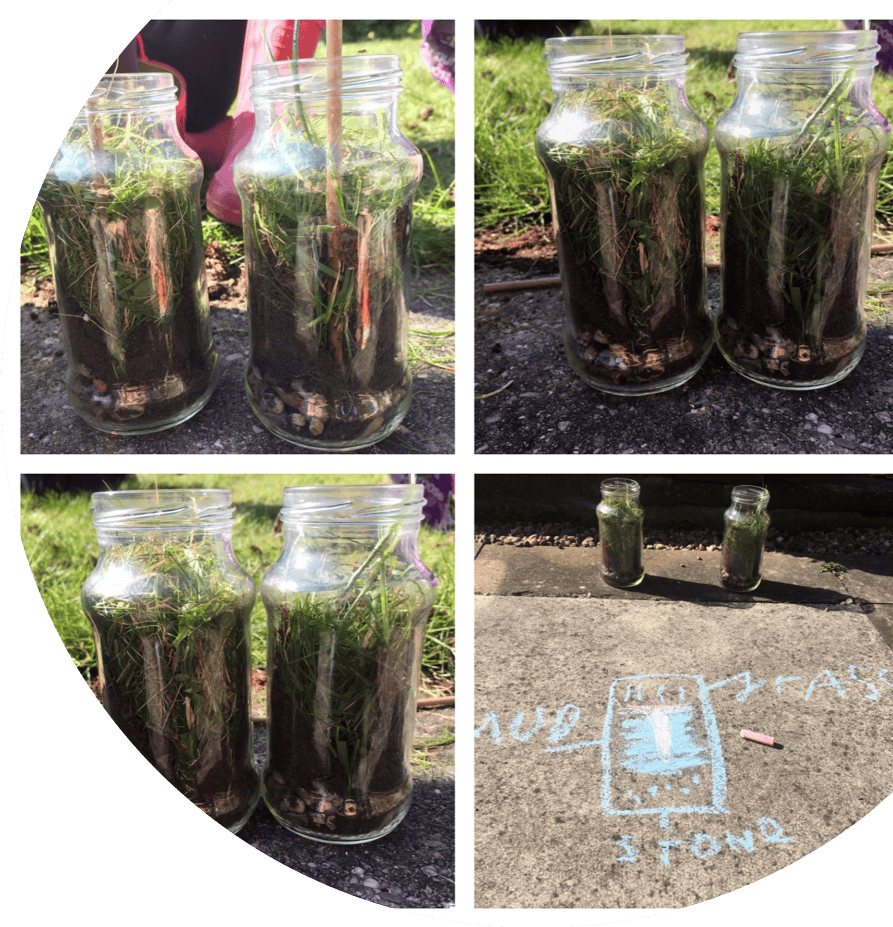
Step 3

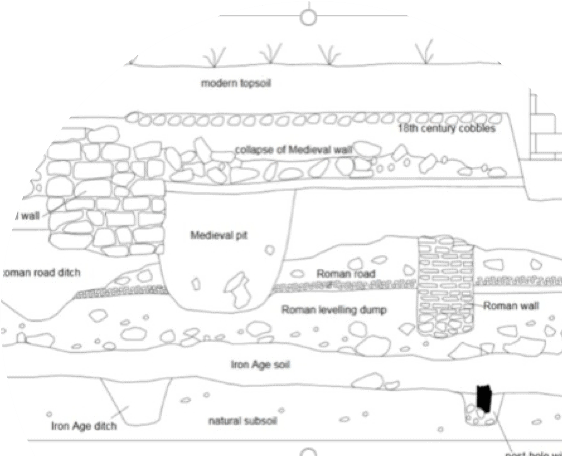
Create a post hole! Get a stick and push it down through several layers. Make sure you slide the stick down the side of the jar so you can see it. In the past, people would dig the hole first cutting through the earth, before placing the post in the hole. When archaeologists can see the difference between the filled-in hole and the surrounding earth. We call this a cut. If a post did not stand up straight people might have placed stones around it to keep it stable, archaeologists call these packing stones.

Step 4

Remove your post from the hole. Did any of the soil around the post fall into the hole? In the past, once a building was no longer used and became a ruin, the wood in the post hole would rot. This can make the soil which fills the hole a different colour or texture to the soil around it. Sometimes the hole is filled in quickly and on purpose. Or it can be filled in slowly over time by erosion, soil creep and animal activities.

Step 5

Do a drawing of what you can see, draw all the different layers which you can see by looking through the side of the glass. Can you still see your post hole? Then number or label the layers in your drawing. Drawings help archaeologists to understand the relationship between the different layers. They can then figure out what that means. Each layer is given a number, this is called a context number. Each context is a phase of activity which can tell us about an event which occurred in the past. The cut as well as what fills up, the fill, the post hole each get a number too. Share your results with us and have fun!