Step 1
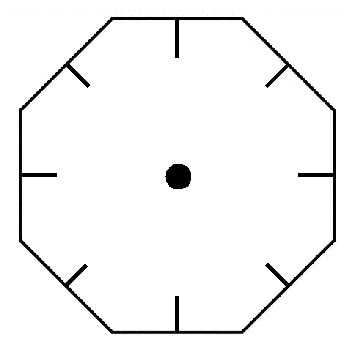
Copy the outline of the octagon onto your thick cardboard. Each edge should be at least 3.5cm long. Alternatively, print out our downloadable cord winding tablet template.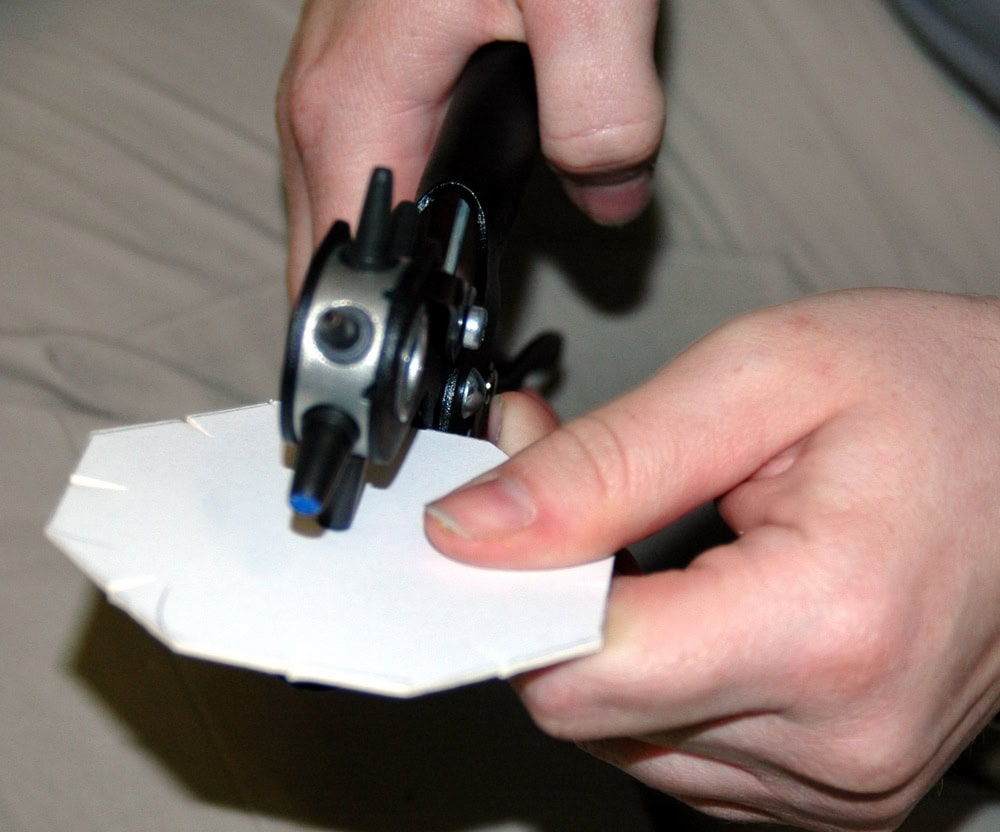
Step 2
Carefully cut out your octagon. Cut a small slit in the middle of each side (as shown on the outline diagram). Make a hole in the centre of your octagon with a hole punch – or ask an adult to make one using a bradawl. You have now made your cord-winding tablet!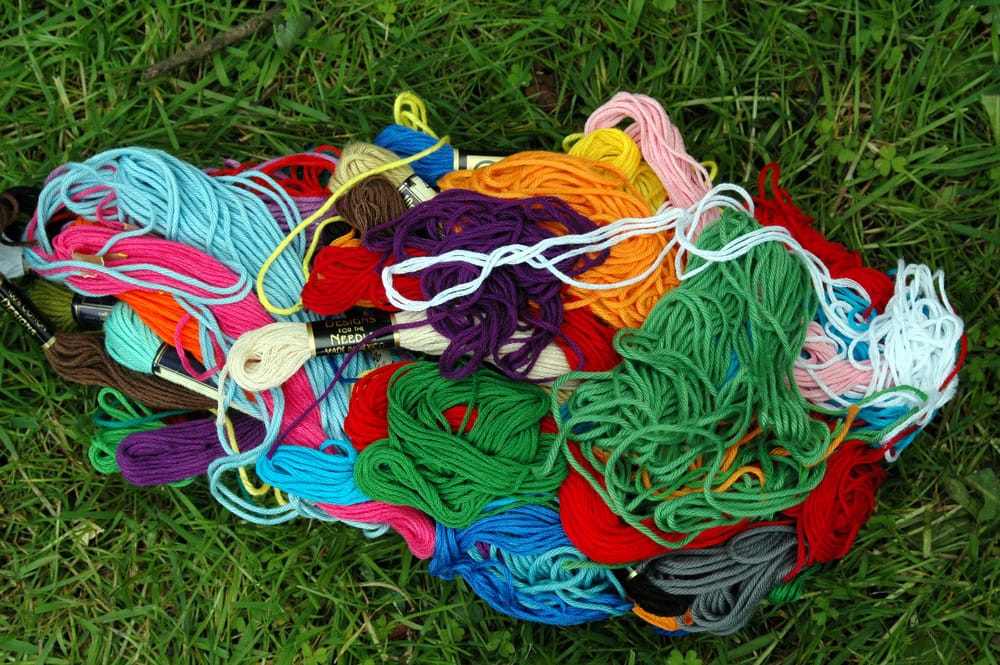
Step 3
Choose seven different coloured embroidery threads. Measure and cut a 50cm length of each colour.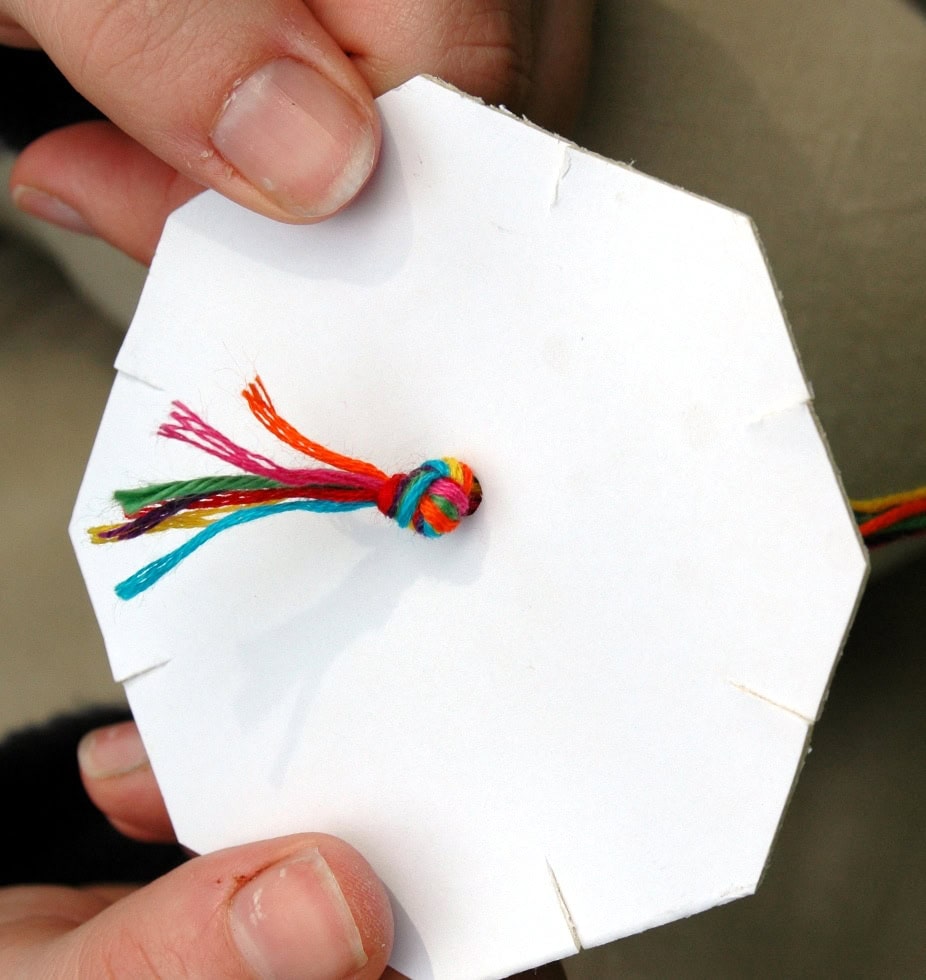
Step 4
Twist your threads together and push them all through the central hole. Pull the threads through a little way and then tie them together in a double knot. Make sure your knot is big enough to stop the threads from disappearing back through the hole!Step 5
Turn your cord-winding tablet back over, and put one thread into each slit. It doesn’t matter what order the threads go in. You should have one empty slit left over. Draw an arrow onto your tablet to show which way you will turn it when you start to make your cord. (Most people find it easiest to turn in a clockwise direction, but it is up to you!) You are now ready to start cord winding!Step 6
Hold your tablet horizontally so that the empty slit is facing you and the threads are hanging down. Count back (in the opposite direction from your arrow) three slits. Take the thread from that slit and move it over the two threads in between, and tuck it into the empty slit facing you.Step 7
Now turn your tablet in the direction of the arrow until the new empty slit is facing you. Count back another three slits and move the thread over into the empty slit. Keep repeating this process. Remember to always turn your tablet in the same direction!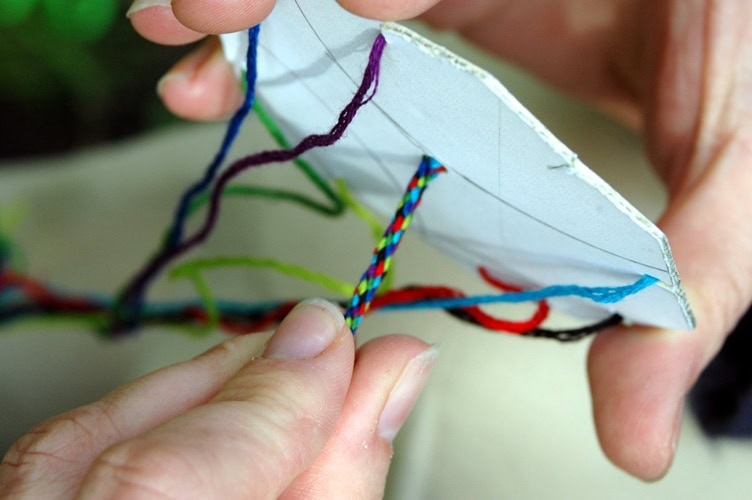
Step 8
Your cord will be emerging from the underside of your tablet. It is important to keep on gently pulling the cord through from the underside. The threads will also get tangled very easily, so it is a good idea to run your fingers through them regularly to avoid getting them in a knot