Step 1
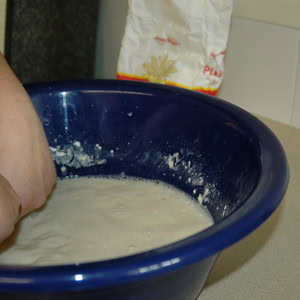
Put about 1 litre of water into your bowl. Add the flour a little bit at a time. Keep stirring and add enough flour to turn the water into a paste. (You can use PVA glue and water, or mixed up wallpaper paste instead if you like.)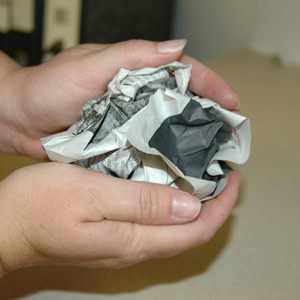
Step 2
Scrunch up a piece of newspaper into a ball. Tear some more newspaper into strips.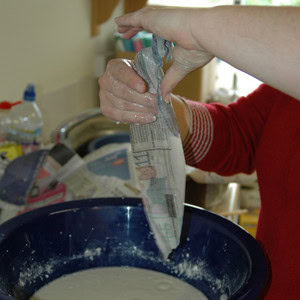
Step 3
Dunk one of your newspaper strips into your paste, wipe away any excess – you don’t want it to be too soggy!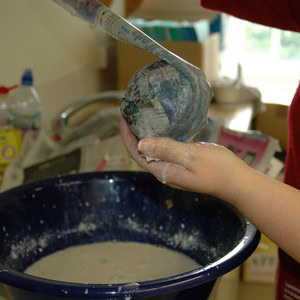
Step 4
Smooth the strip over your newspaper ball. Repeat the process until you have built up a good layer all over. Keep going until your ball is about 60 mm in diameter. Leave your ball overnight to dry somewhere warm.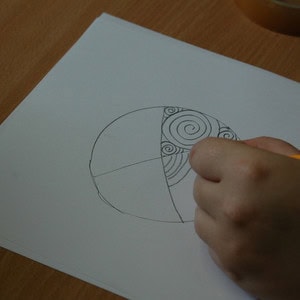
Step 5
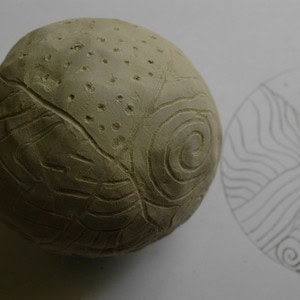
Whilst you are waiting for your papier mache ball to dry, you can design your carvings! The original balls featured lots of swirls, lines and hatching so that could be a good place to start.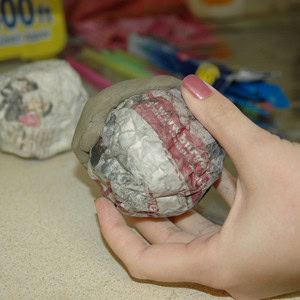
Step 6
When your papier mache ball is dry, cover it in a thick layer of clay to make an even sphere. Leave the clay-covered ball to dry overnight.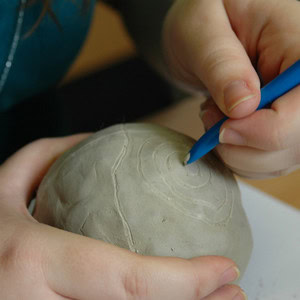
Step 7
When the ball is dry, carve your design using a modelling tool or lolly stick. This can get a bit messy so protect the surface that you are working on. The carving may be hard work sometimes, but imagine carving real stone!