Step 1
If you are using willow/hazel lengths, you may need to soak them overnight to ensure that they are flexible.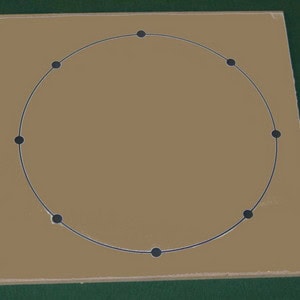
Step 2
Draw a circle about 25cm in diameter onto your MDF base board. Mark eight dots around the circle at regular intervals.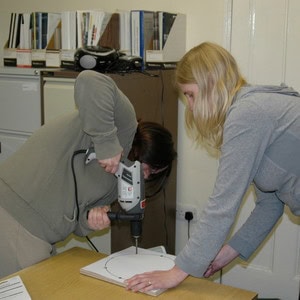
Step 3
Ask an adult to drill eight holes through your base where you have marked the dots. The holes must be big enough for your 10mm dowel lengths to fit in tightly.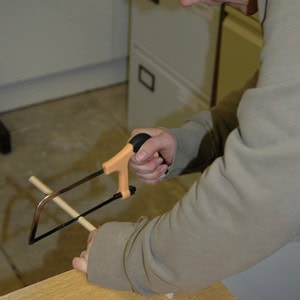
Step 4
Ask an adult to help you cut your dowel into the correct lengths for both the roof and uprights, using a hacksaw. The uprights need to be 12cm long, and the roof pieces need to be 25cm long.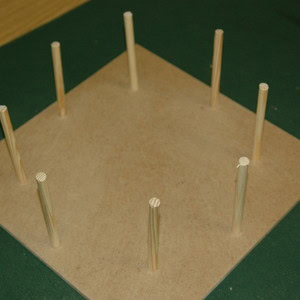
Step 5
Glue your upright dowels (12cm long, 10mm diameter) into the base. You may need a hammer to tap them in tightly. Leave them to dry so that they are secure before you build your wall.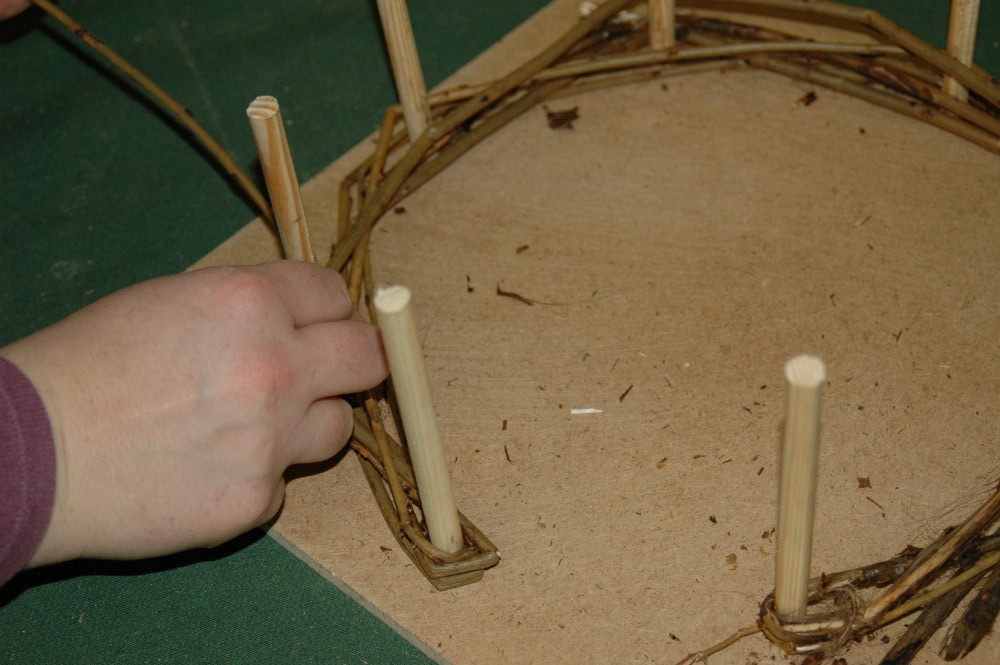
Step 6
Weave the willow or hazel lengths (or basket weaving canes) in and out of the uprights to build your wall, leaving one section between two uprights as a doorway. Leave about 3cm at the top of the uprights sticking out; this is where the roof will join on.
Step 7
(Additional image from step 6).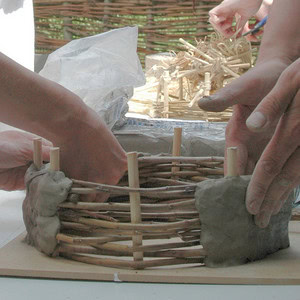
Step 8
Time to get mucky! Daub the walls using clay. Wait for the daub to dry before adding the roof.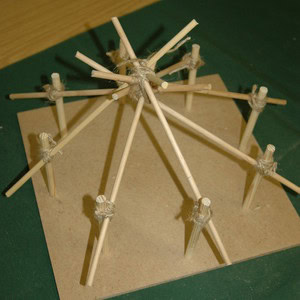
Step 9
Add the roof by tying the 25cm long, 8mm diameter dowel roof beams to the upright poles using twine. Tie the beams together where they meet in the centre. (For this example picture, we added the roof beams before building the walls.)
Step 10
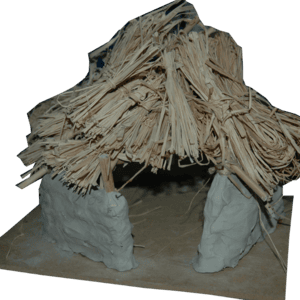
Add struts of twigs or lolly sticks in between the beams; these are necessary to give stability and allow thatch to be tied on.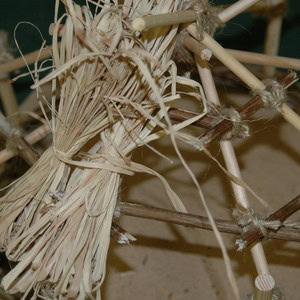
Step 11
Tie the raffia into small bundles and then, working from the bottom up, tie these bundles onto the beams and struts to thatch your roof.